Watercooled AMD 5700 XT Part 1: AIO Watercooler Installation
Introduction
At the time of writing this, Nvidia’s RTX graphics cards have been available for several months and AMD has finally released an entirely new GPU architecture to compete - the Radeon RX 5000 series. These are the first RDNA architecture graphics cards, which means that AMD has finally retired the GCN (graphics core next) architecture that they have used and refined since 2012.
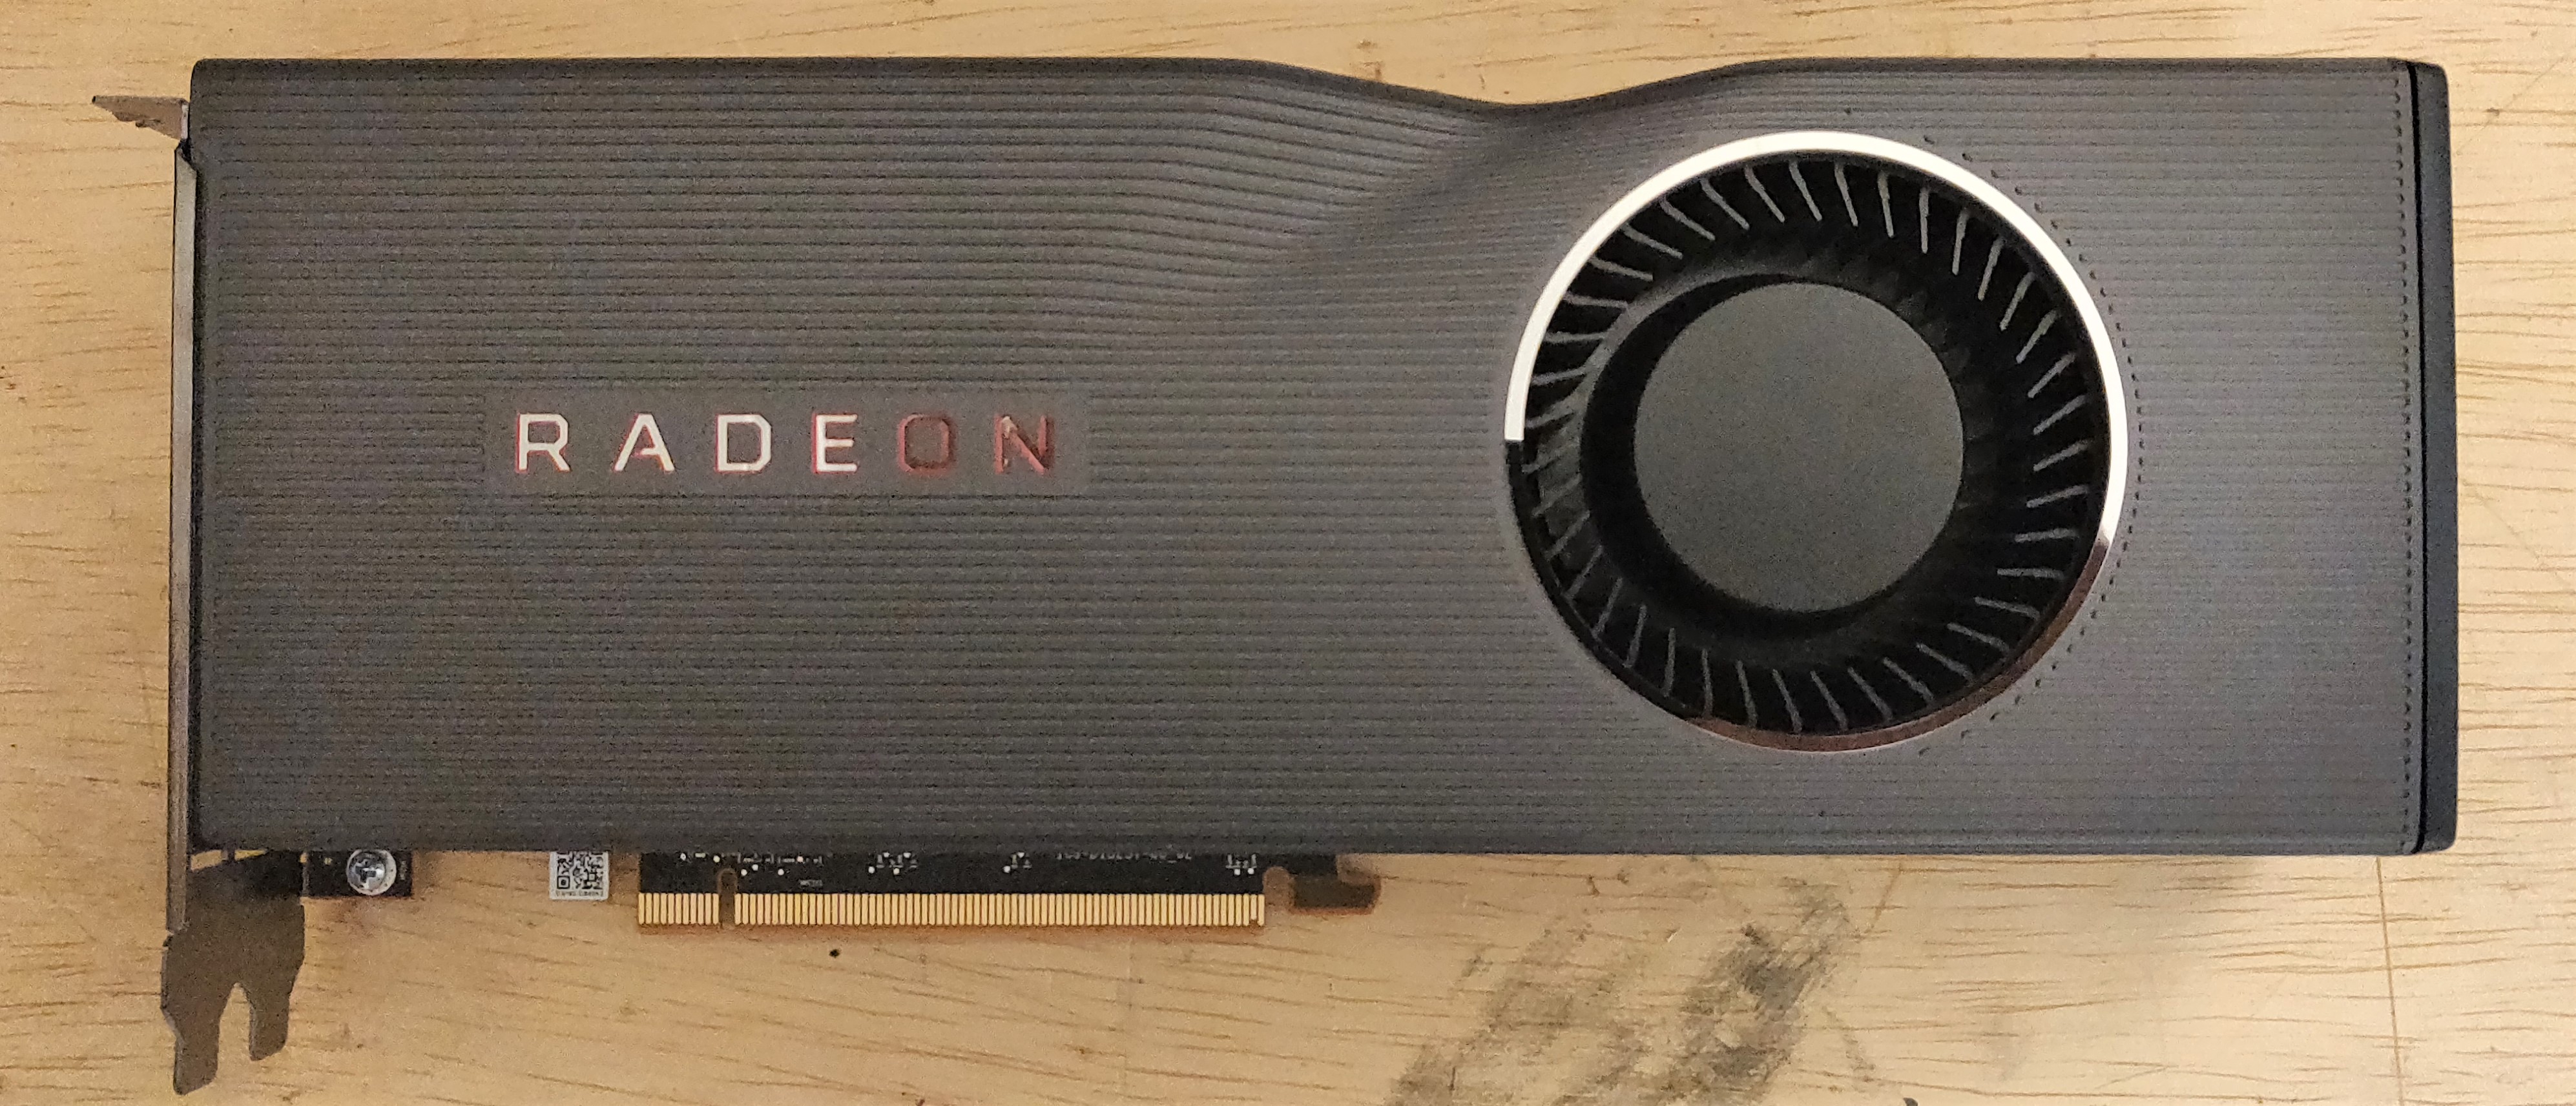
With a firm budget in mind and wanting better graphics performance than my current setup was providing, I found a reference Radeon RX 5700 XT on E-Bay below MSRP. Normally, purchasing a reference card is a terrible idea. This is because the coolers in such GPUs have limited exhaust and a single loud blower fan (see image below). As the title suggests, I decided to water cool my shiny, not-quite-new 5700 XT. I expect this to mitigate the noise and heat associated with the reference cooler, and doing this gives me a fun project I can document on my site. Hooray!
Disclaimer
First, a necessary disclaimer: if you choose to do this sort of thing with your own (or someone else’s) GPU, then the liability is entirely yours. Simply removing the cooler on my card voided the warranty, so be aware of the risks you take when:
- Disassembling and modifying expensive electronics
- Introducing water-based cooling to computer hardware
Understand? Ok, then let’s put some water on this card.
Watercooling
Watercooling GPUs seems to be gaining popularity as of late. The initial inspiration for this project came to me when I got ahold of an extra Corsair H100i AIO cooler. I didn’t need it for my CPU, but thought it might work well on a GPU. I found that companies like Corsair and NZXT already sell (or used to sell) metal brackets for adapting the mounting holes on GPUs to the arrangements on their own AIO coolers. But, the H100i I had found was not compatible with this solution. Besides, with a Radeon HD 7970 pushing 7 years, I didn’t think it would be worth watercooling it.
Some months later, I found this post on Reddit. It turns out that not only do brackets exist, but so do AIO water coolers specifically for GPUs! Better yet, 3D-printed brackets exist (such as this one) that can be printed at a fraction of the cost of either of the two premade options. My interest was rekindled, and I started collecting and printing parts to make this project happen.
Watercooling Components
First, the 3D-printable bracket referenced in the link above. It is designed to mesh with the gear-tooth style of mounting that some Corsair and Asetek AIOs used to use.
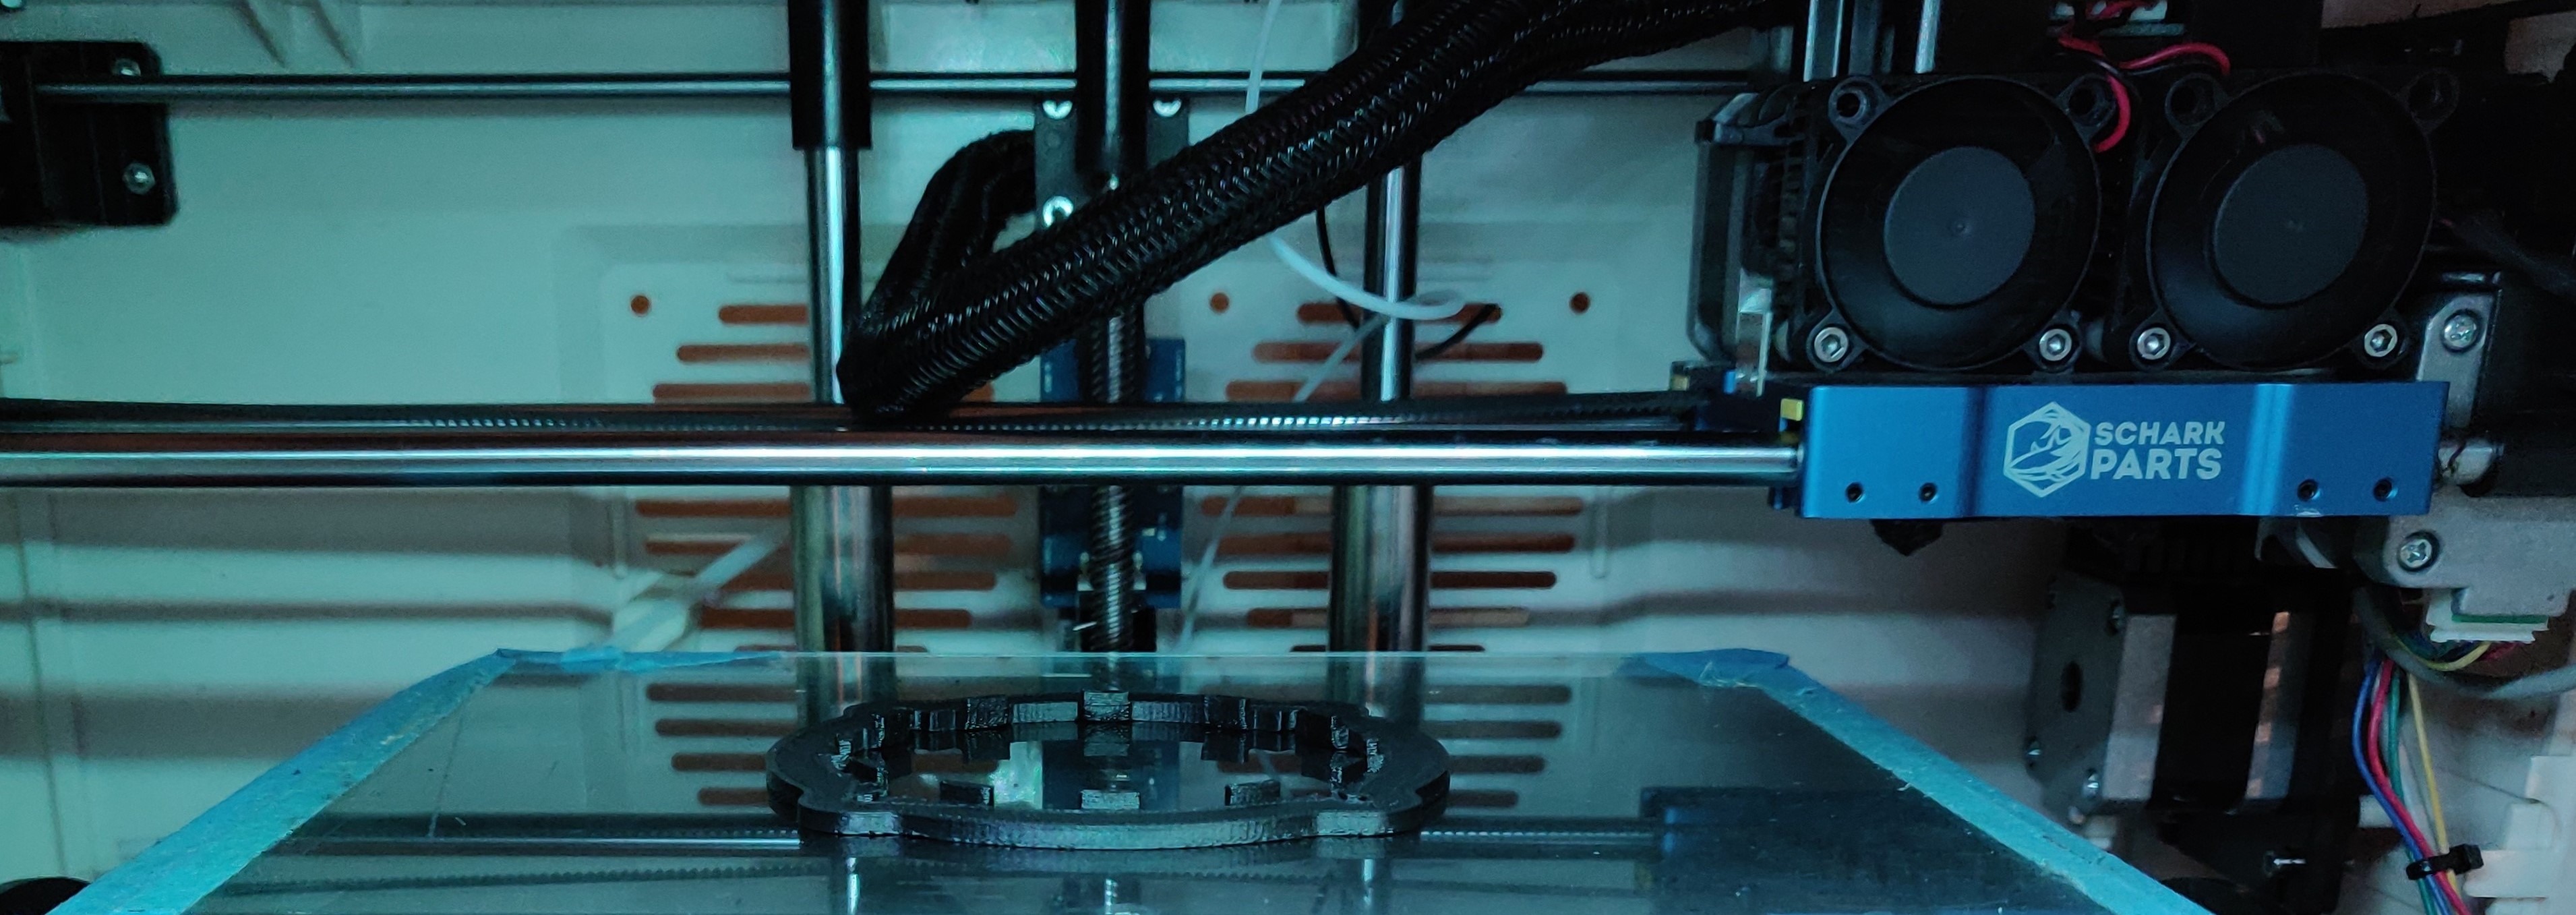
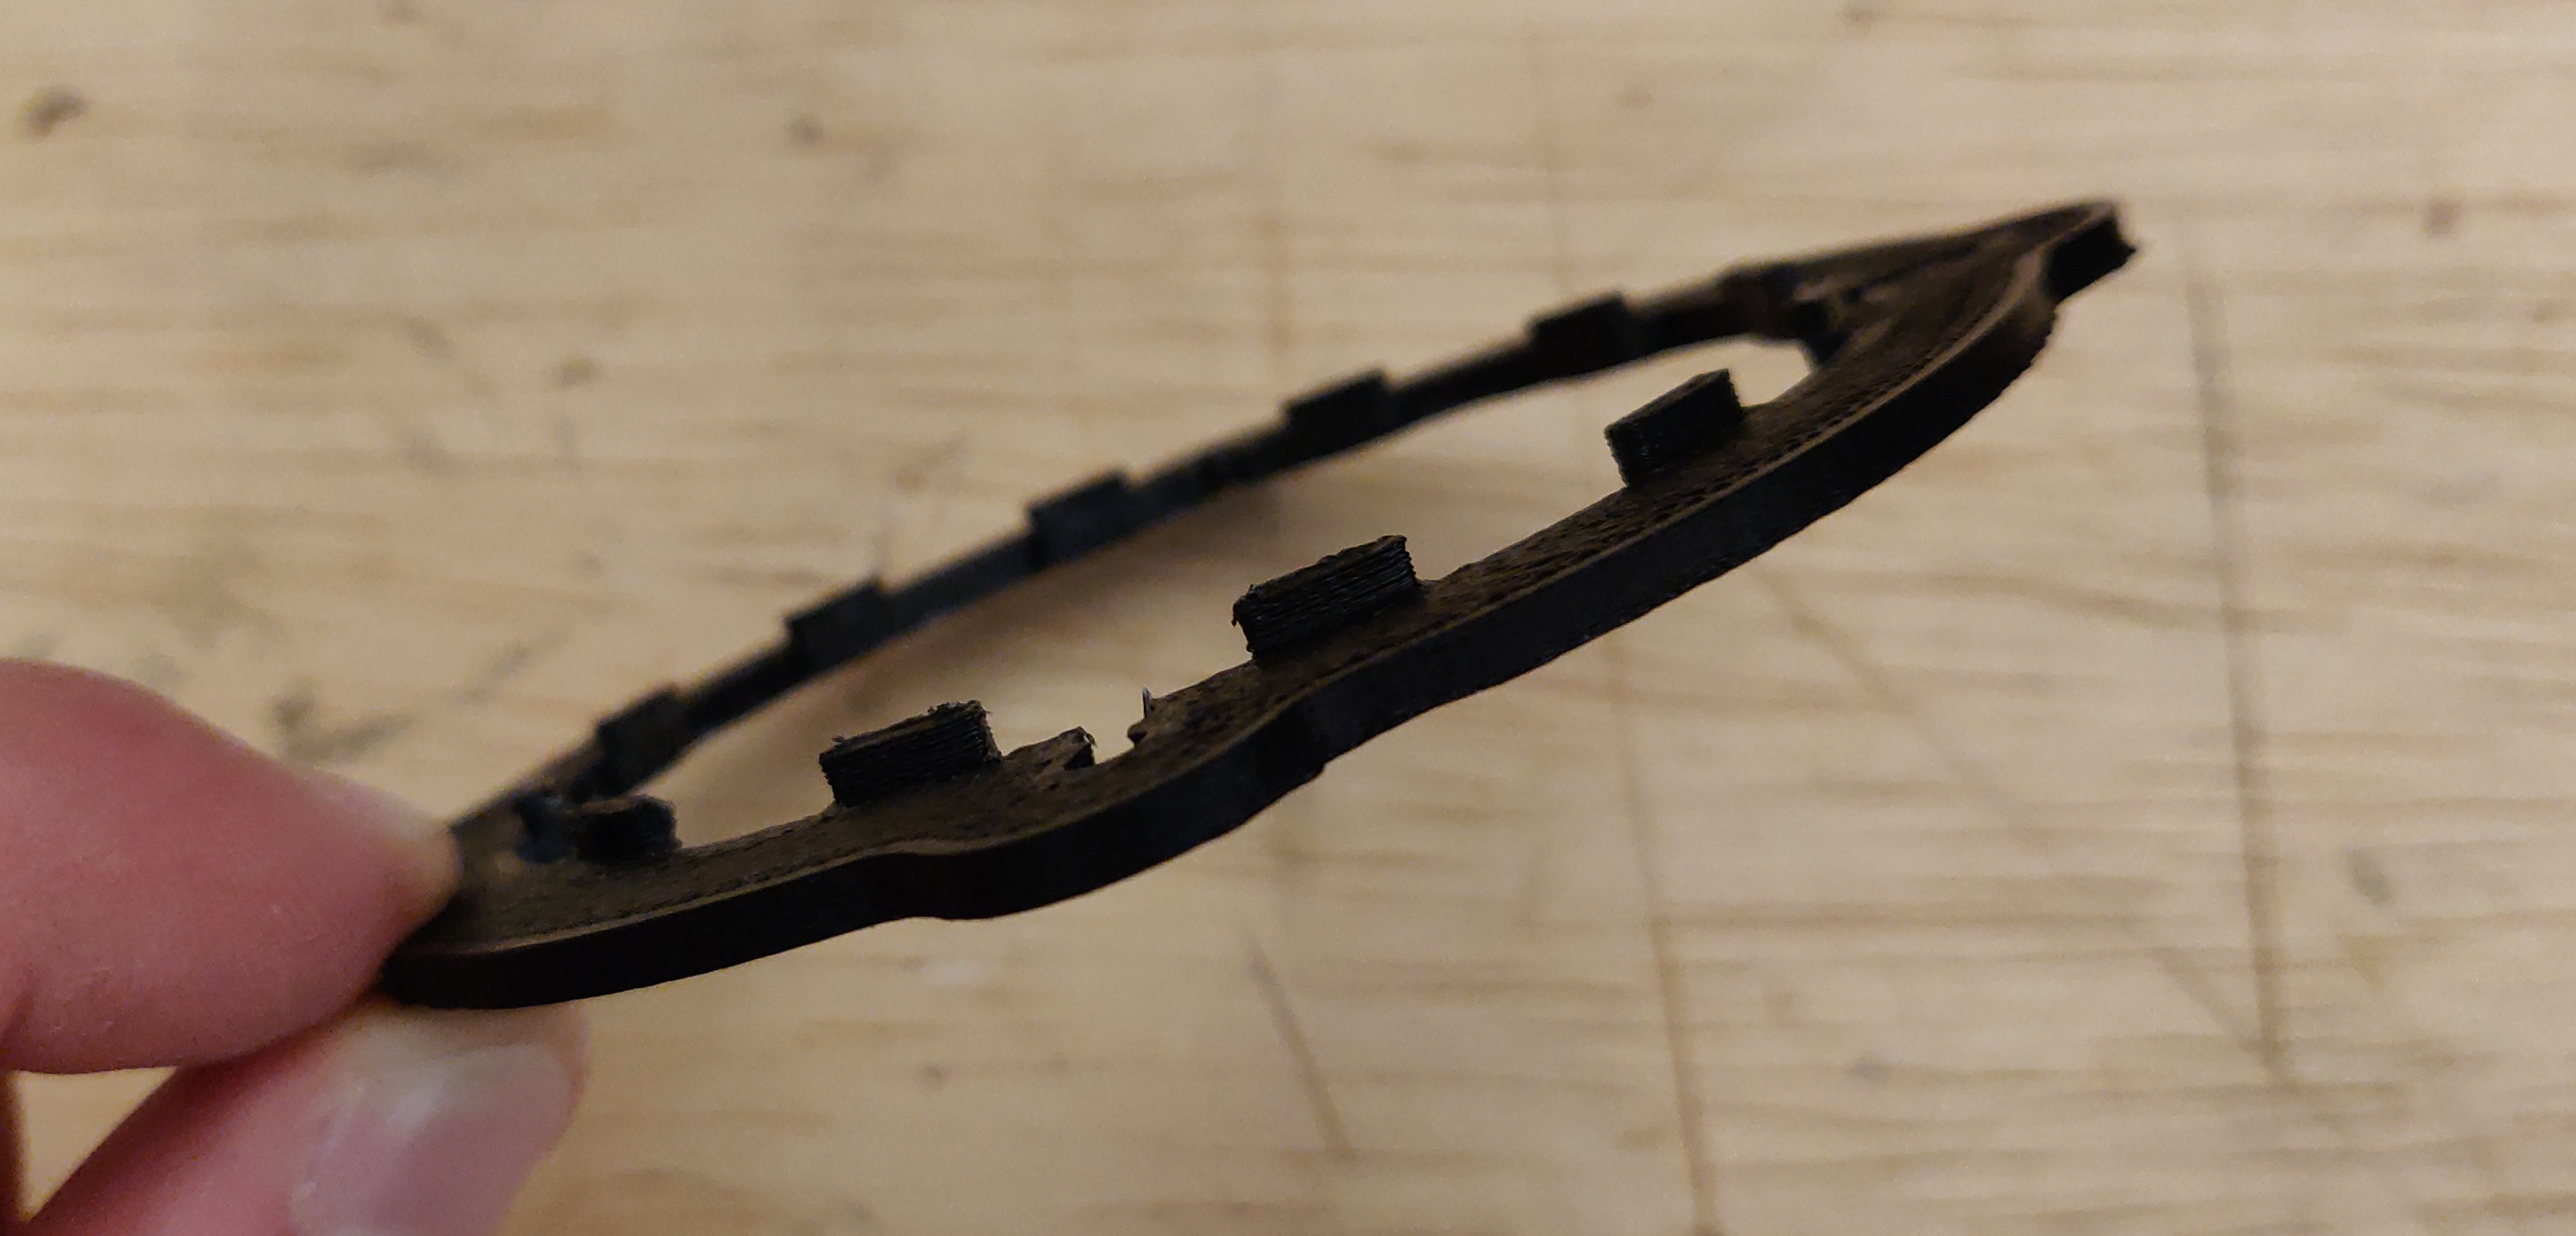
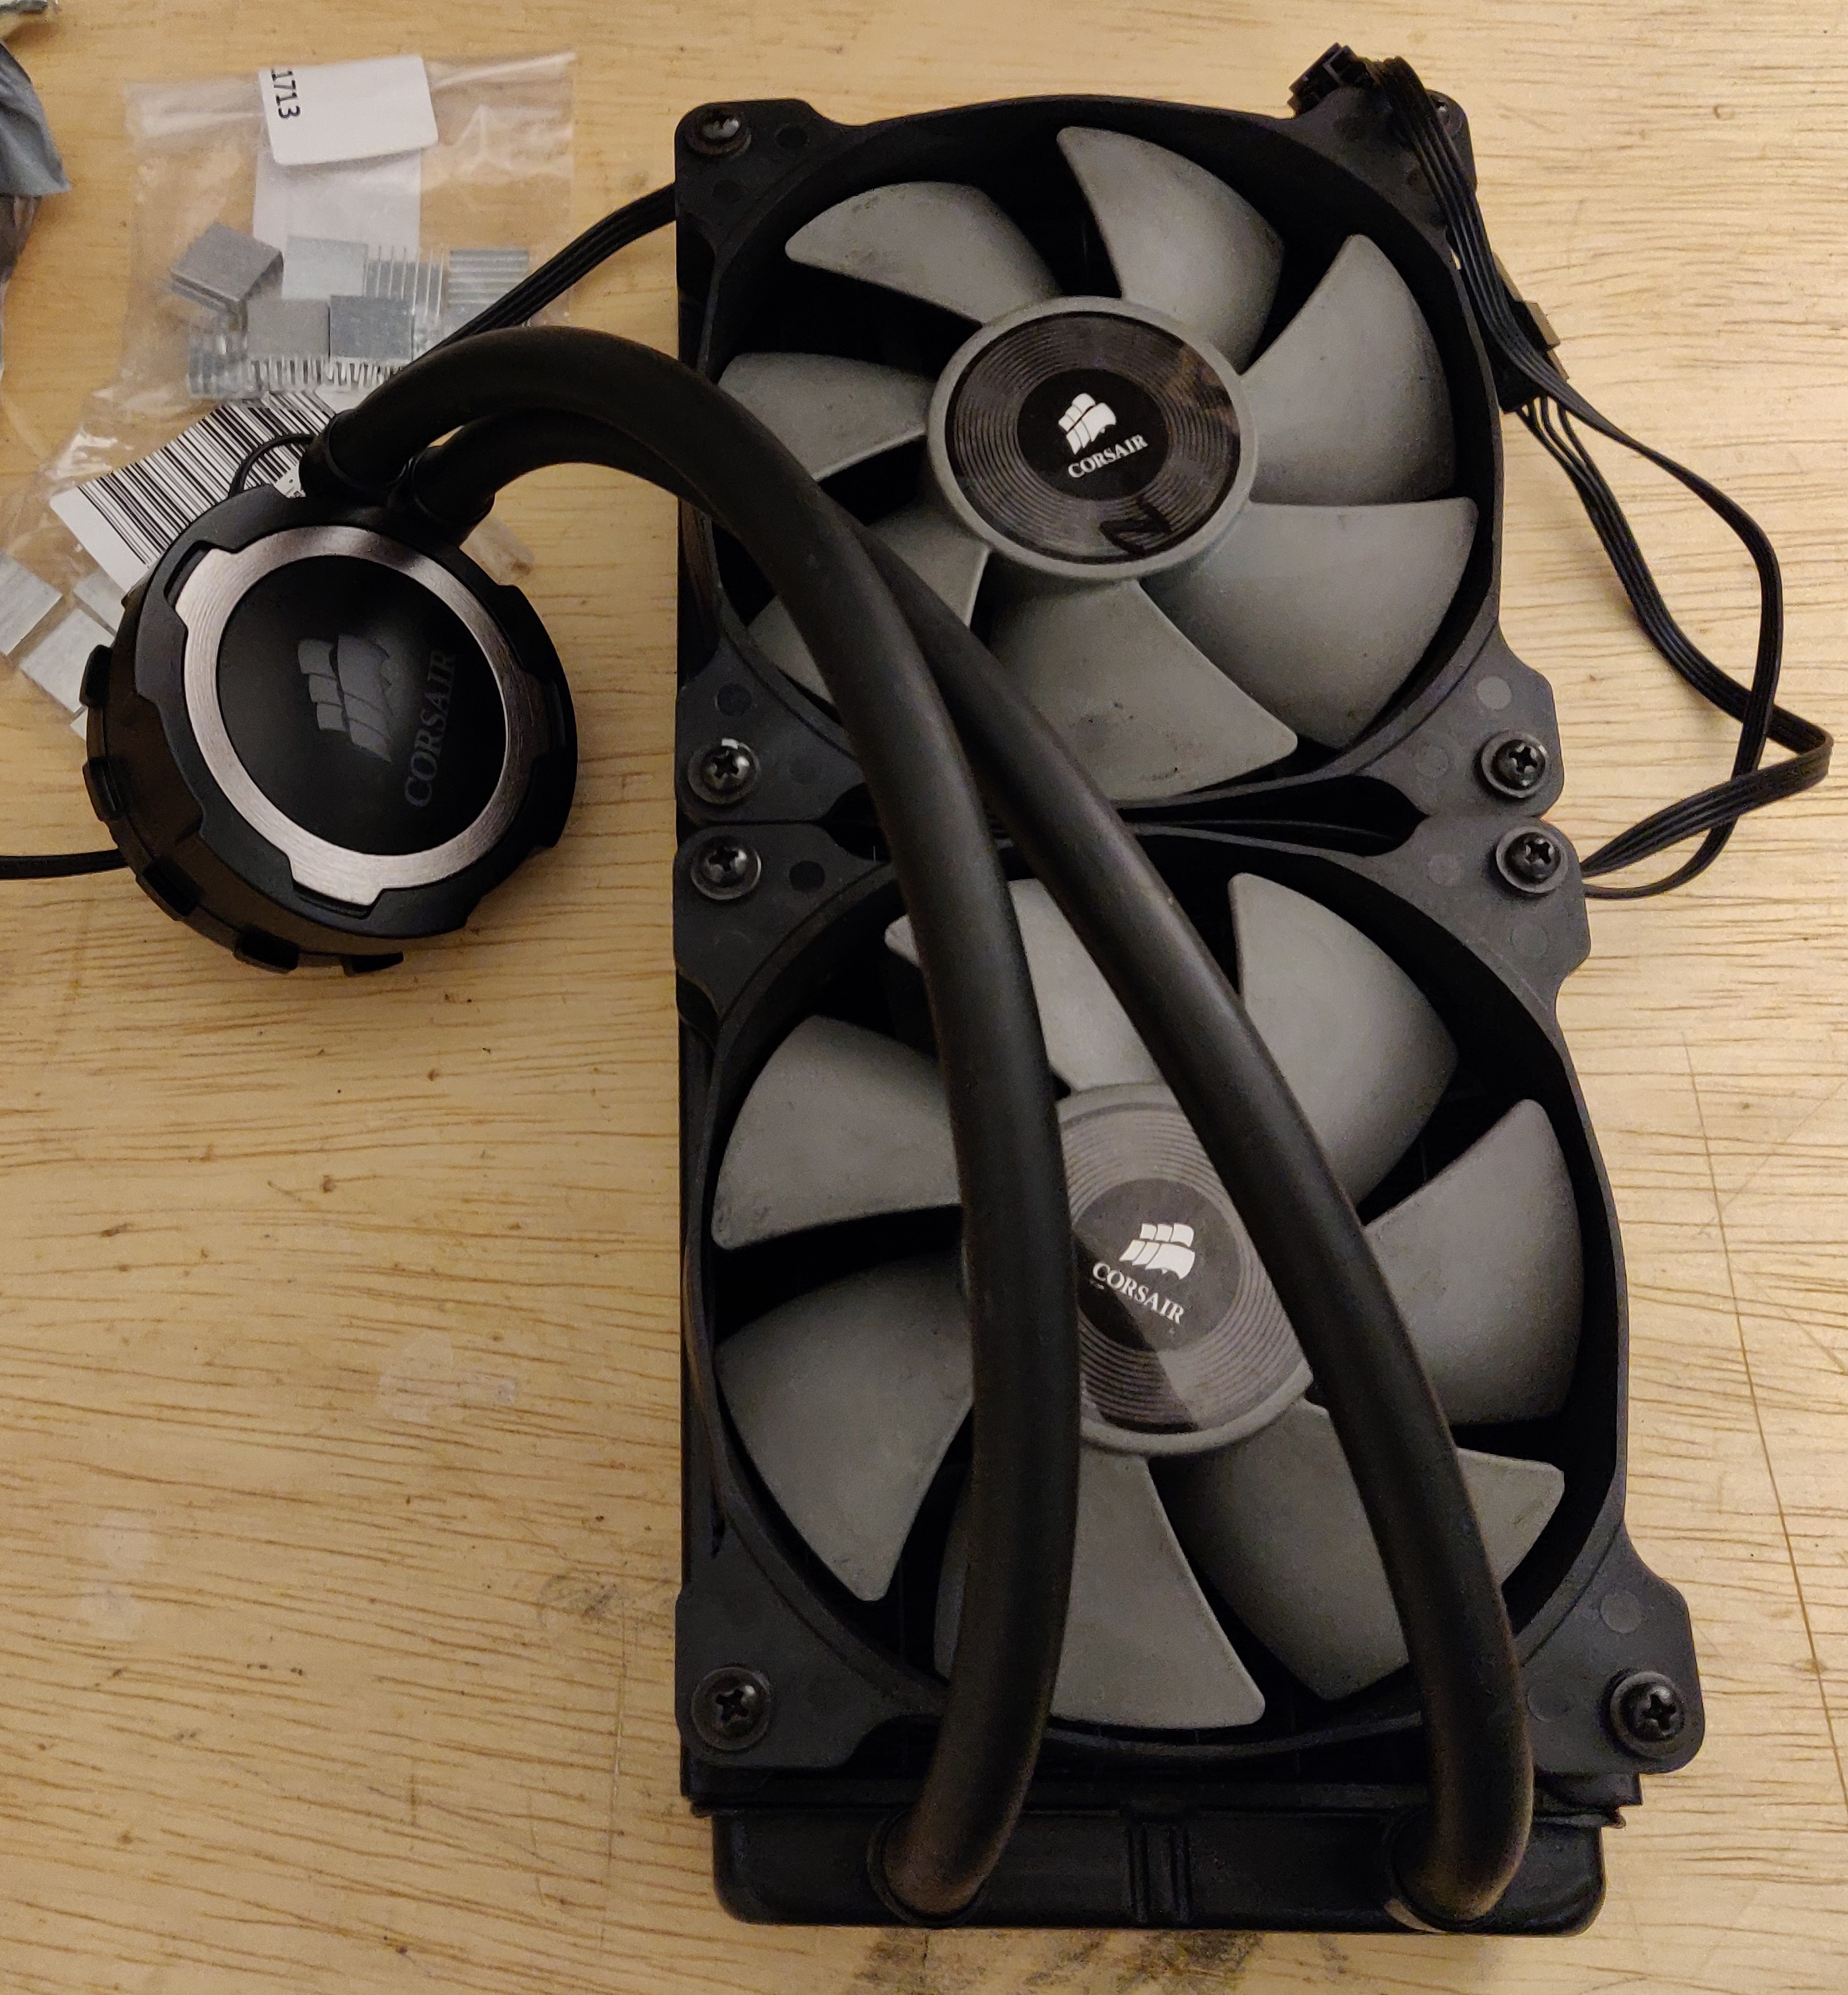
Then, an AIO cooler. For this I found a 240x120mm Corsair H105, but I think a 120x120mm radiator would work just as well. The H105 was the specific one I chose because it has the gear-tooth mounting scheme compatible with the 3D-printed bracket. Because I sourced a used unit, I was able to get it for less than a new single-fan AIO would have cost me.
Finally, a GPU test subject. That’s the reference 5700XT pictured at the beginning of this post. Some additional components I needed were:
- M3x30mm machine screws for mounting the cooler, with associated nuts and washers.
- Small heatsinks for putting on the GPU memory units. Since this mod removes the main source of airflow and the original heatsink, the memories need new heatsinks to have area for dissipating heat.
- Thermal tape and thermal paste for attaching the mini heatsinks and for putting between the GPU die and AIO, respectively.
- An adapter cable to connect the radiator fans to the GPU fan header. This way, the software-controlled GPU fan curve can still be used to control the GPU’s cooling fans.
These additional components can be found fairly easily online.
Removing the Reference Heatsink
Removing the reference heatsink from the 5700XT involved removing many screws. The first item that had to come off was the back plate and the x-bracket on the back of the card that actually holds the heatsink in place against the GPU die.
Next, additional screws holding the shroud and the blower fan onto the GPU circuit board had to be removed. I also had to detach the PCIe bracket from the display output ports, since the bracket had a screw attaching it to the shroud. With these all removed and with a bit of careful prying, the entire assembly came apart (below). You can get a sense of how many screws were holding the assembly together based on the number of tapped holes on the shroud.
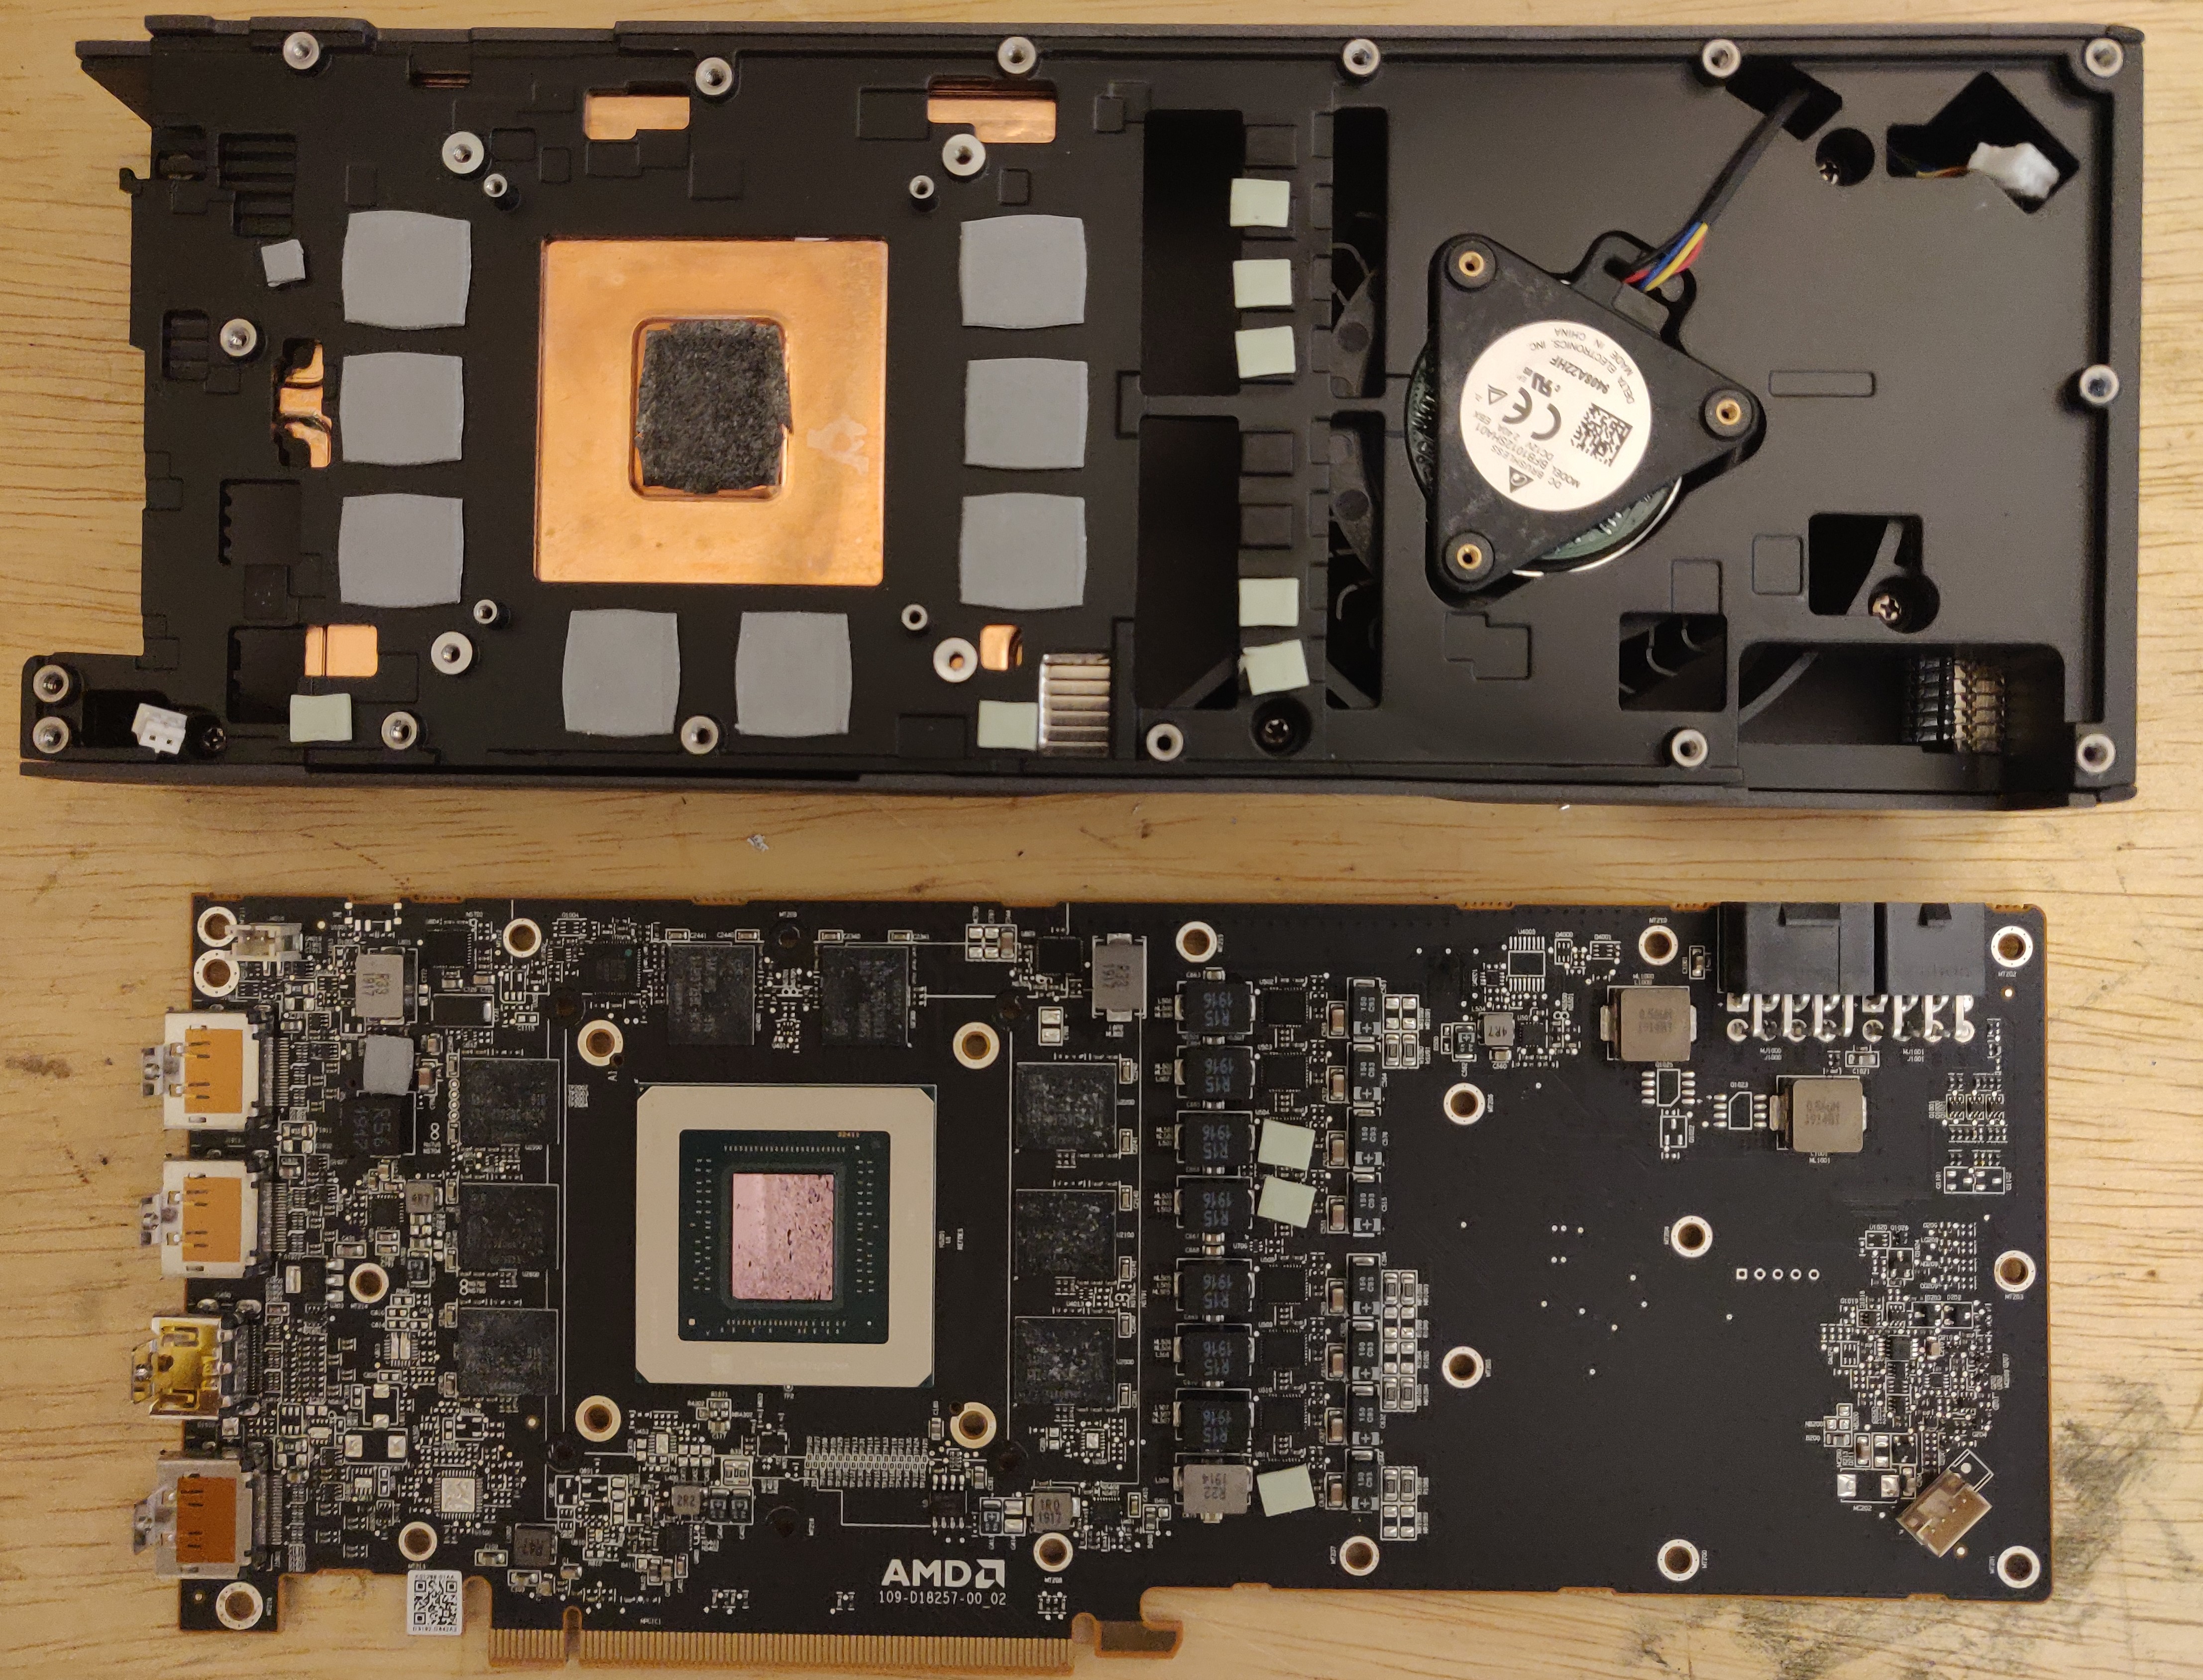
Interestingly, this reference card does not use thermal paste for the GPU die! Instead, there is a thermal pad in the center of the heatsink that appears to be made of a rougher, less rubbery material than the surrounding thermal pads for memory units, VRMs, and other components. Perhaps simply replacing this with better thermal interface material would have improved the thermals for this card.
Prepping the X-bracket
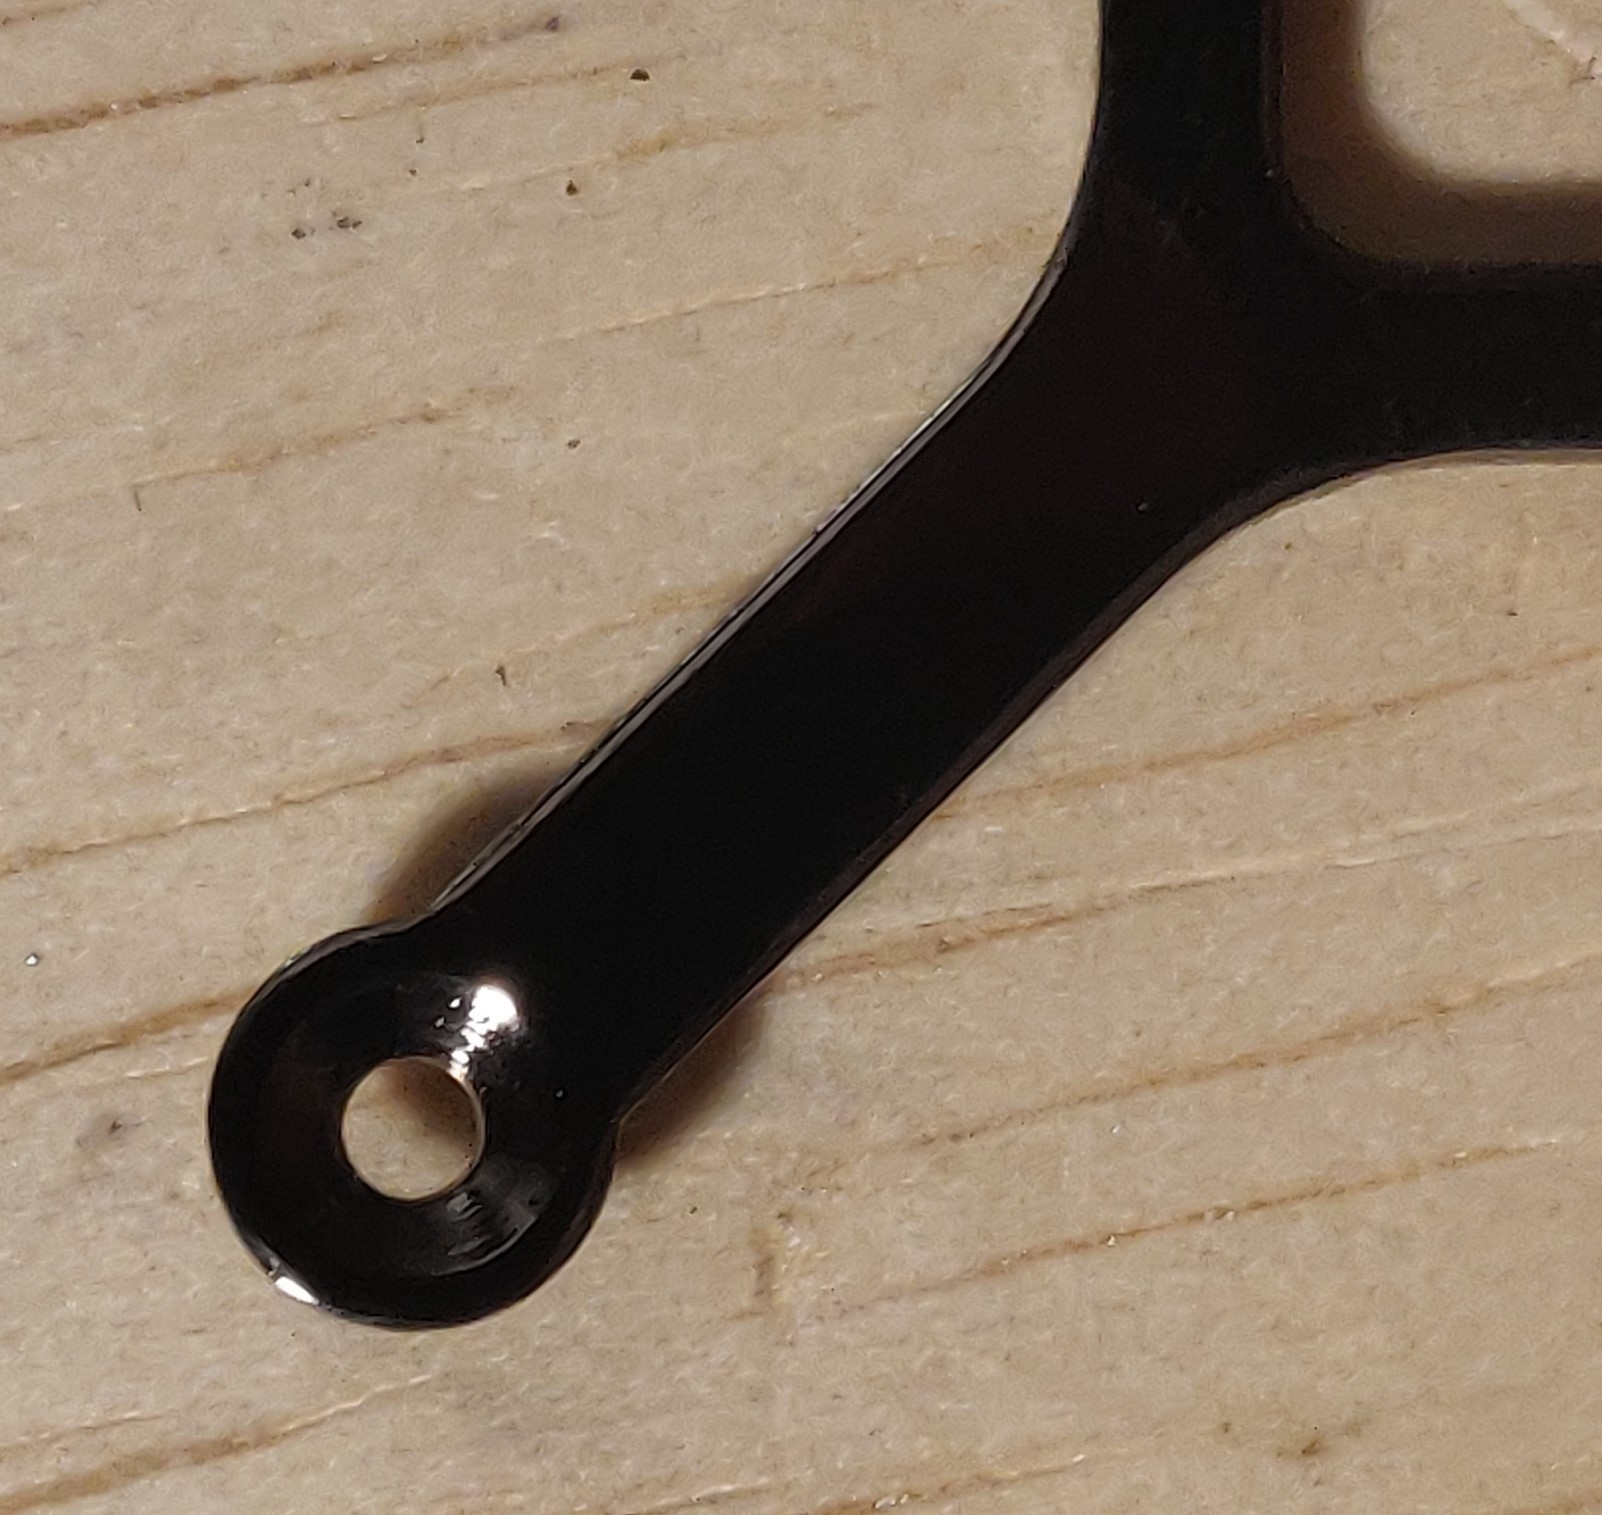
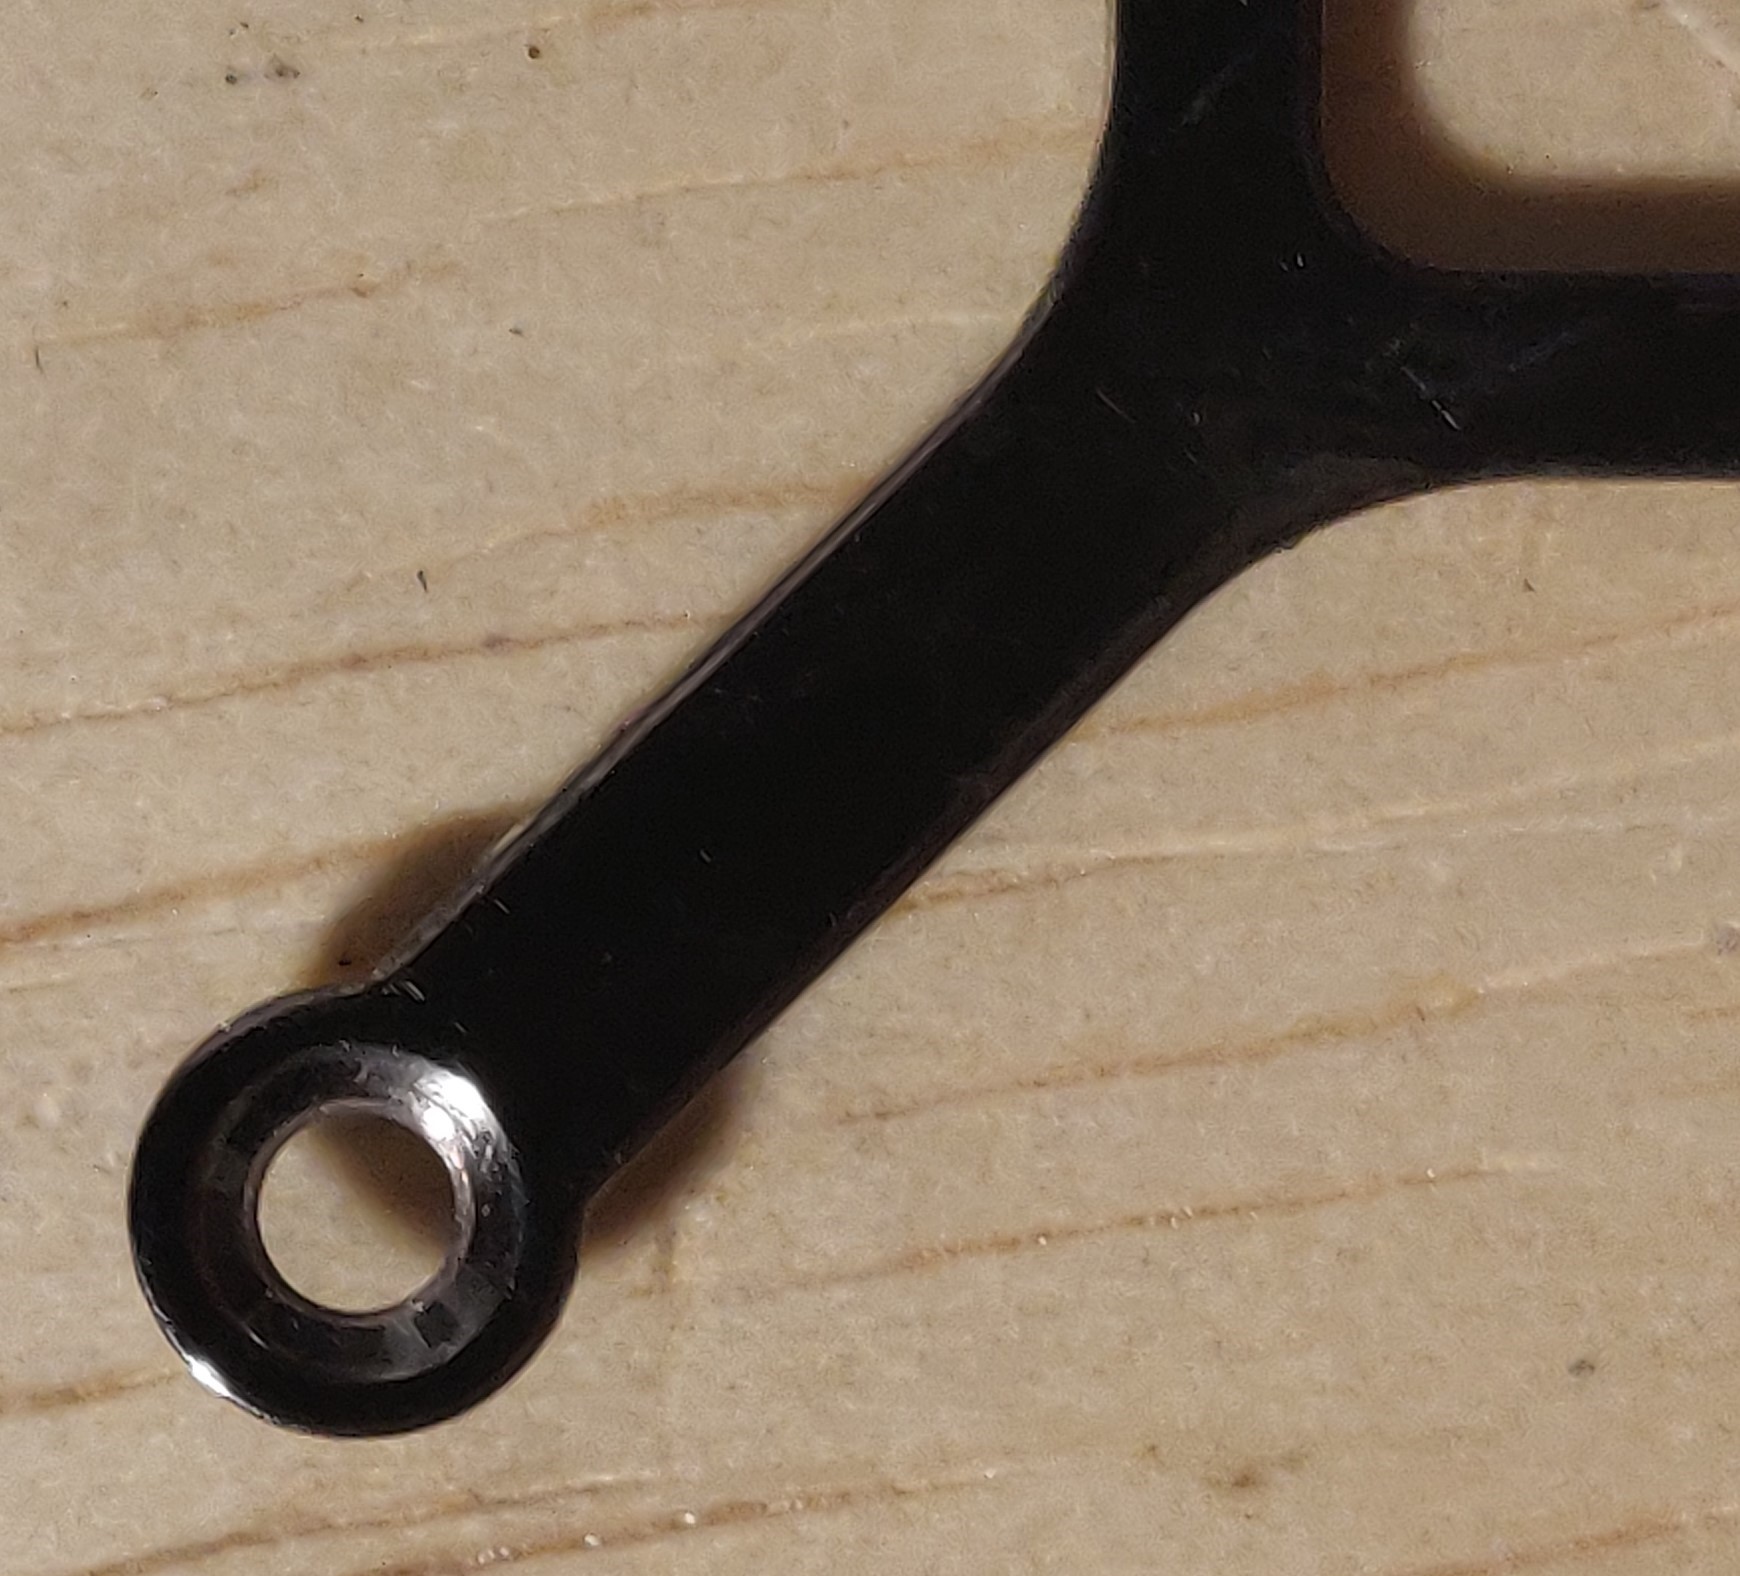
The files for the 3D-printed bracket included a back-bracket, which I did print and intended to use. However, once I had removed the GPU backplate and removed the shroud, I realized that the only way to still have the backplate on with the AIO watercooler would be to use the x-bracket that fit into the cutouts on the backplate. As luck would have it, the M3 screws I was planning to secure the AIO to the GPU were too large to fit with the x-bracket’s mounting holes.
I ended up using a combination of drill bits and conical grinding wheels between a drill and a Dremel to wear down the x-bracket’s metal. The side-by-side below gives a sense of how much material had to be removed for the M3 screws to fit:
 |
 |
There was an attempt…to mount the AIO
Next I mounted the AIO with the bracket I had printed. I made sure to apply a dab of Loctite to each bolt and nut holding the AIO in place. Perfect!
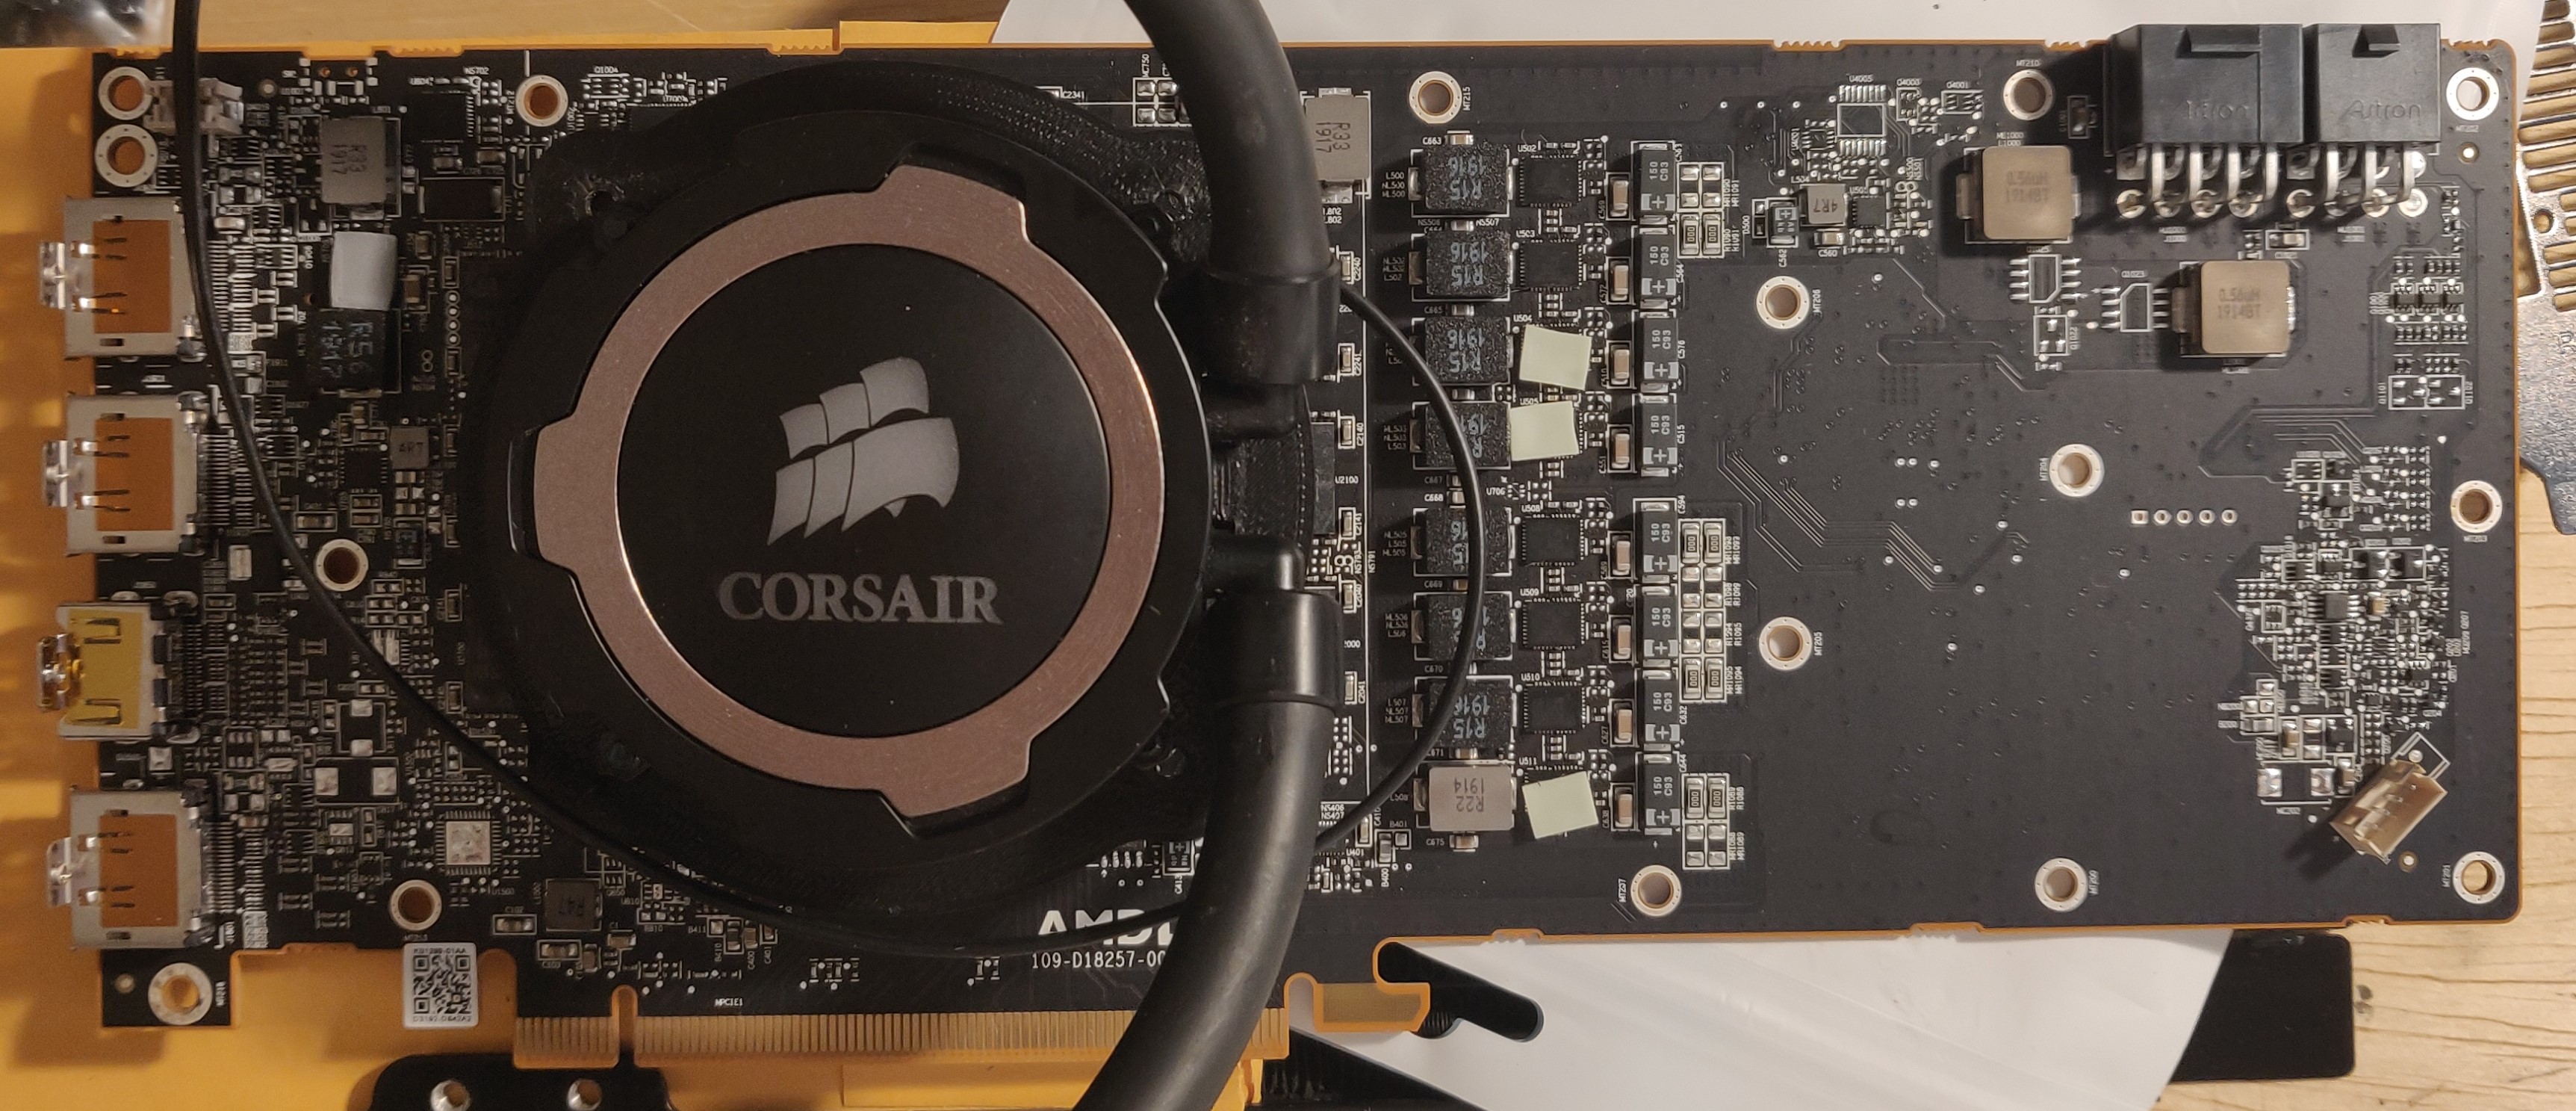
And that’s where I made a mistake. I was so busy making sure that no screws would come loose, that I didn’t check how solvent that Loctite comes in would react with the ABS plastic of my bracket. The result? The bracket became brittle and shattered in mere minutes:
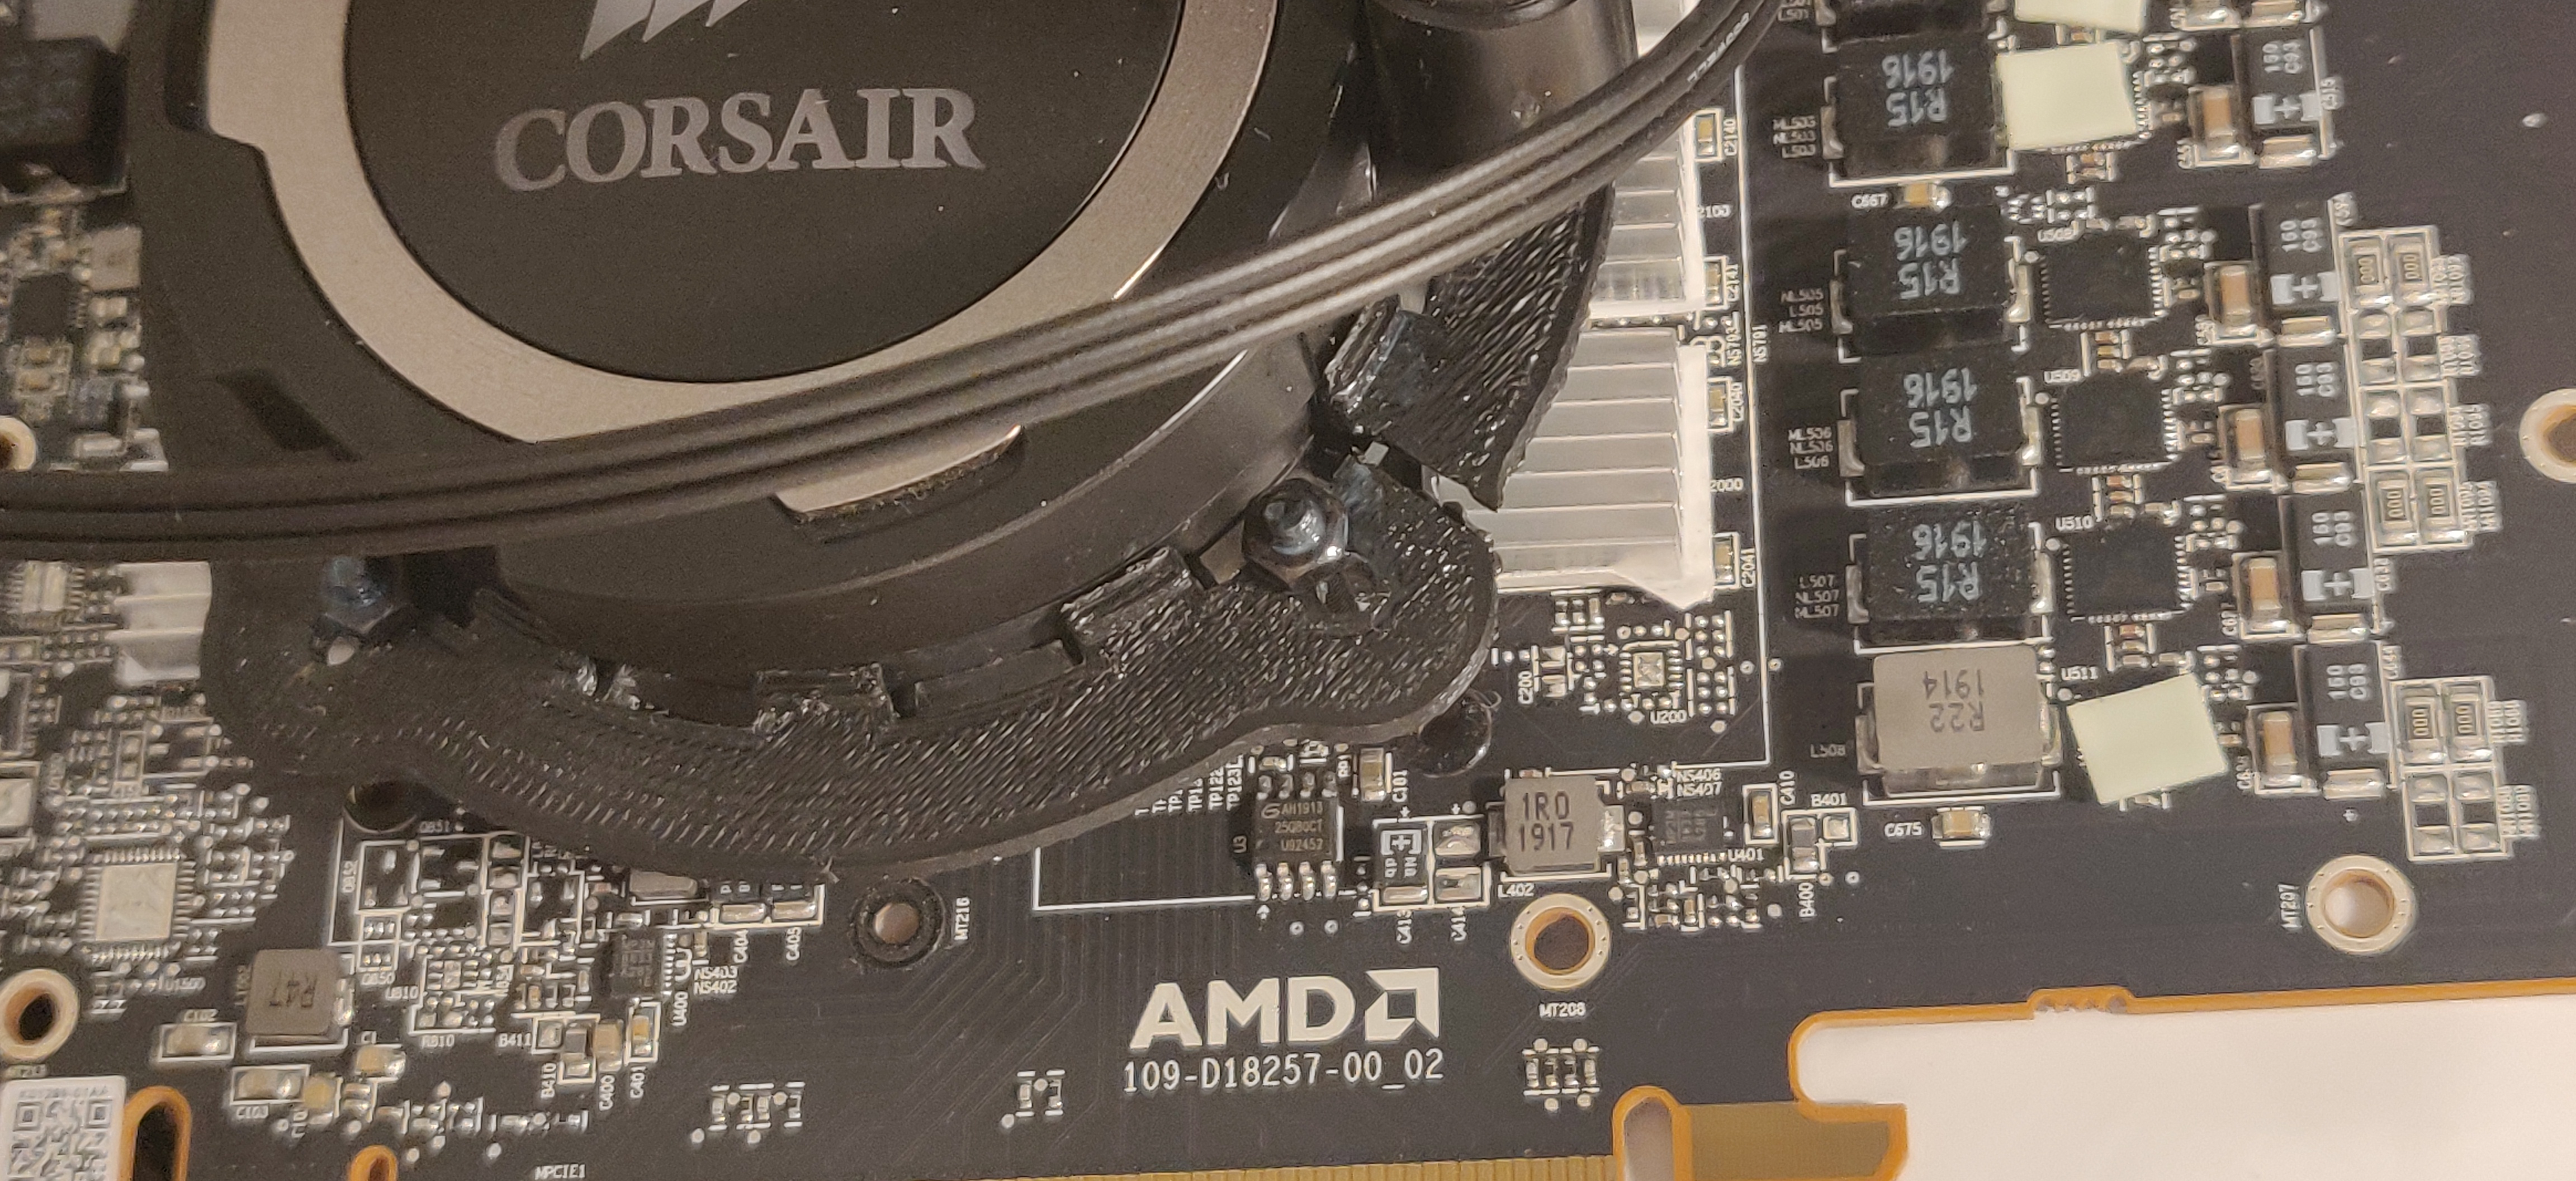
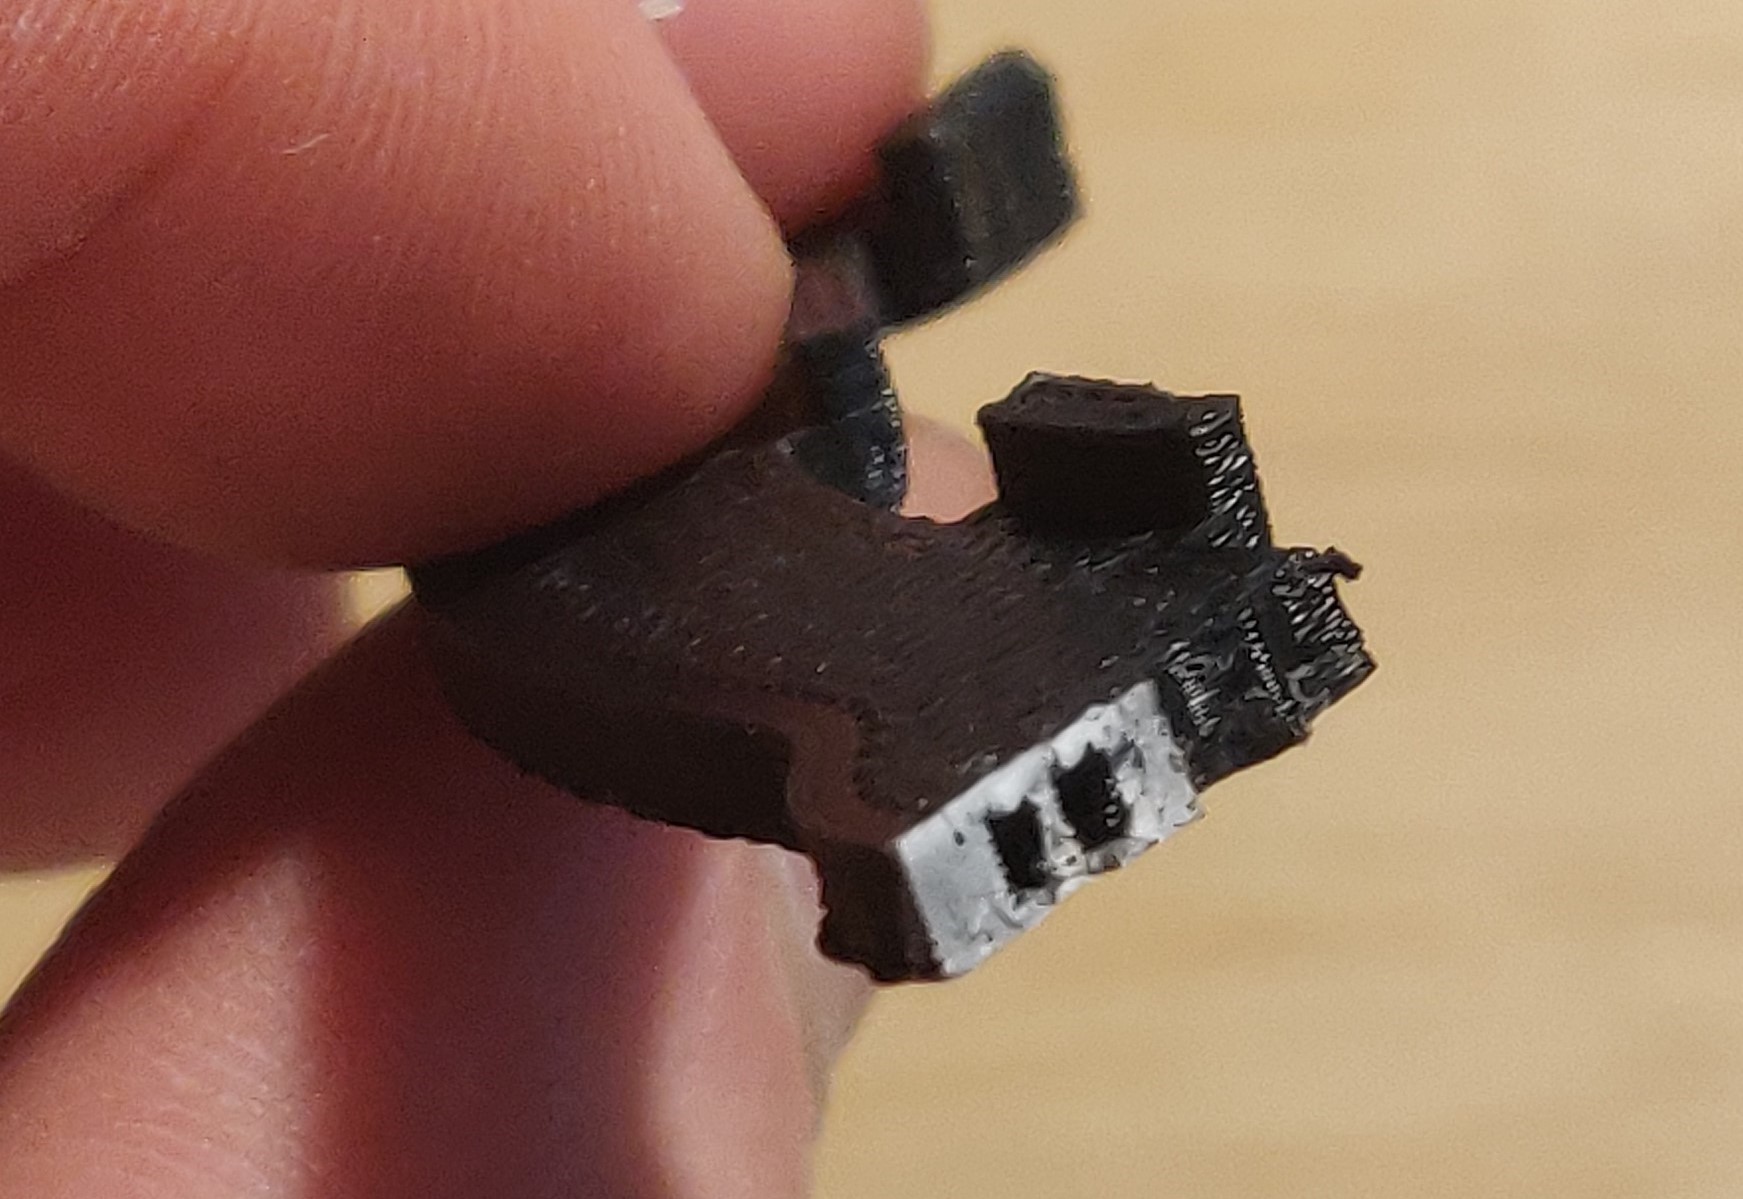
As an interesting aside: you can see from the two side-by-side images below that the chemical damage caused by the lotite solvent is distinct from mechanical damage caused by snapping the ABS bracket. When I bend the bracket by hand, the plastic turns white at the break, while the Loctite solvent left the bracket smooth with no color changes.
 |
 |
Second try’s a charm
In short order, I printed a new bracket and remounted the AIO making sure to avoid Loctite. Instead, I added an additional nut on each bolt to help avoid them loostening. For good measure, I printed new bracket in red glow-in-the-dark filament. The last step was to mount some heatsinks on each memory chip located around the GPU die. Once mounted, the cooler sits quite close to the top two memories, which forced me to…relocate a few fins on those two heatsinks. Not the prettiest, but it’ll do.
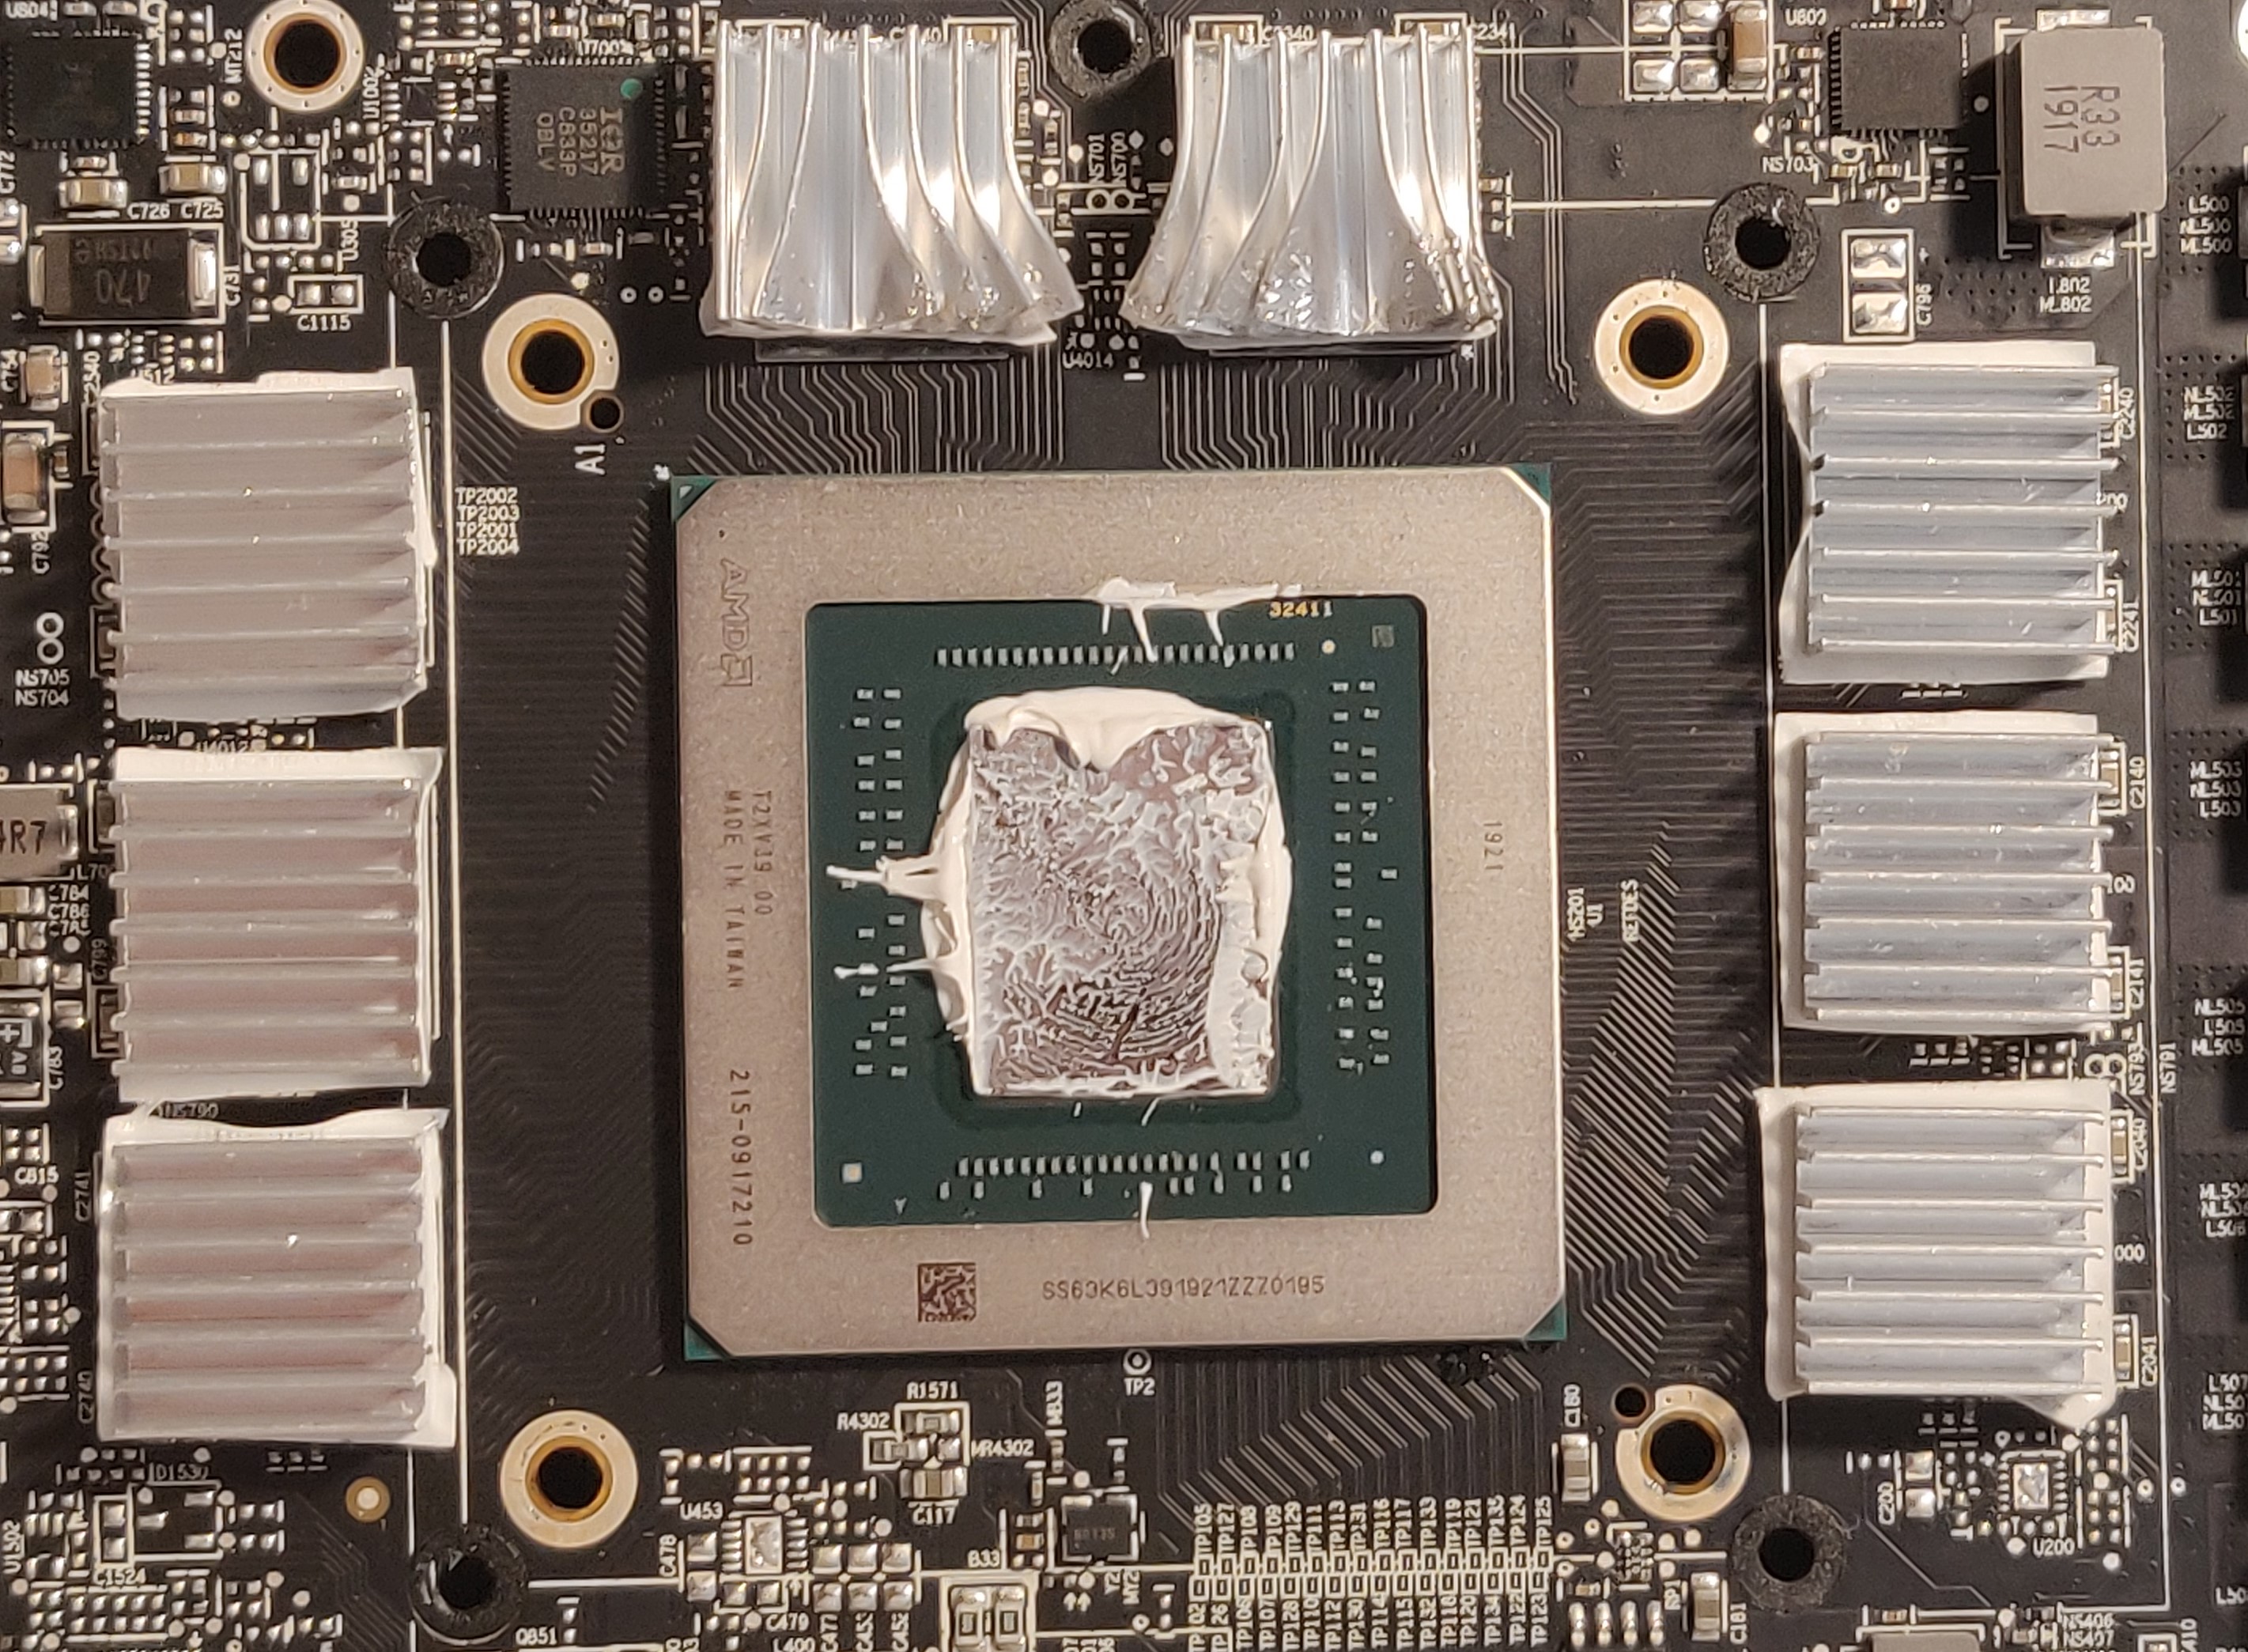
All in all, it looks fairly clean. It’s striking how much empty space there is on the right side of the GPU board. The space was left clear for the blower fan, but the lack of components there tells me that it would have been possible to make a much shorter card instead.
System Installation
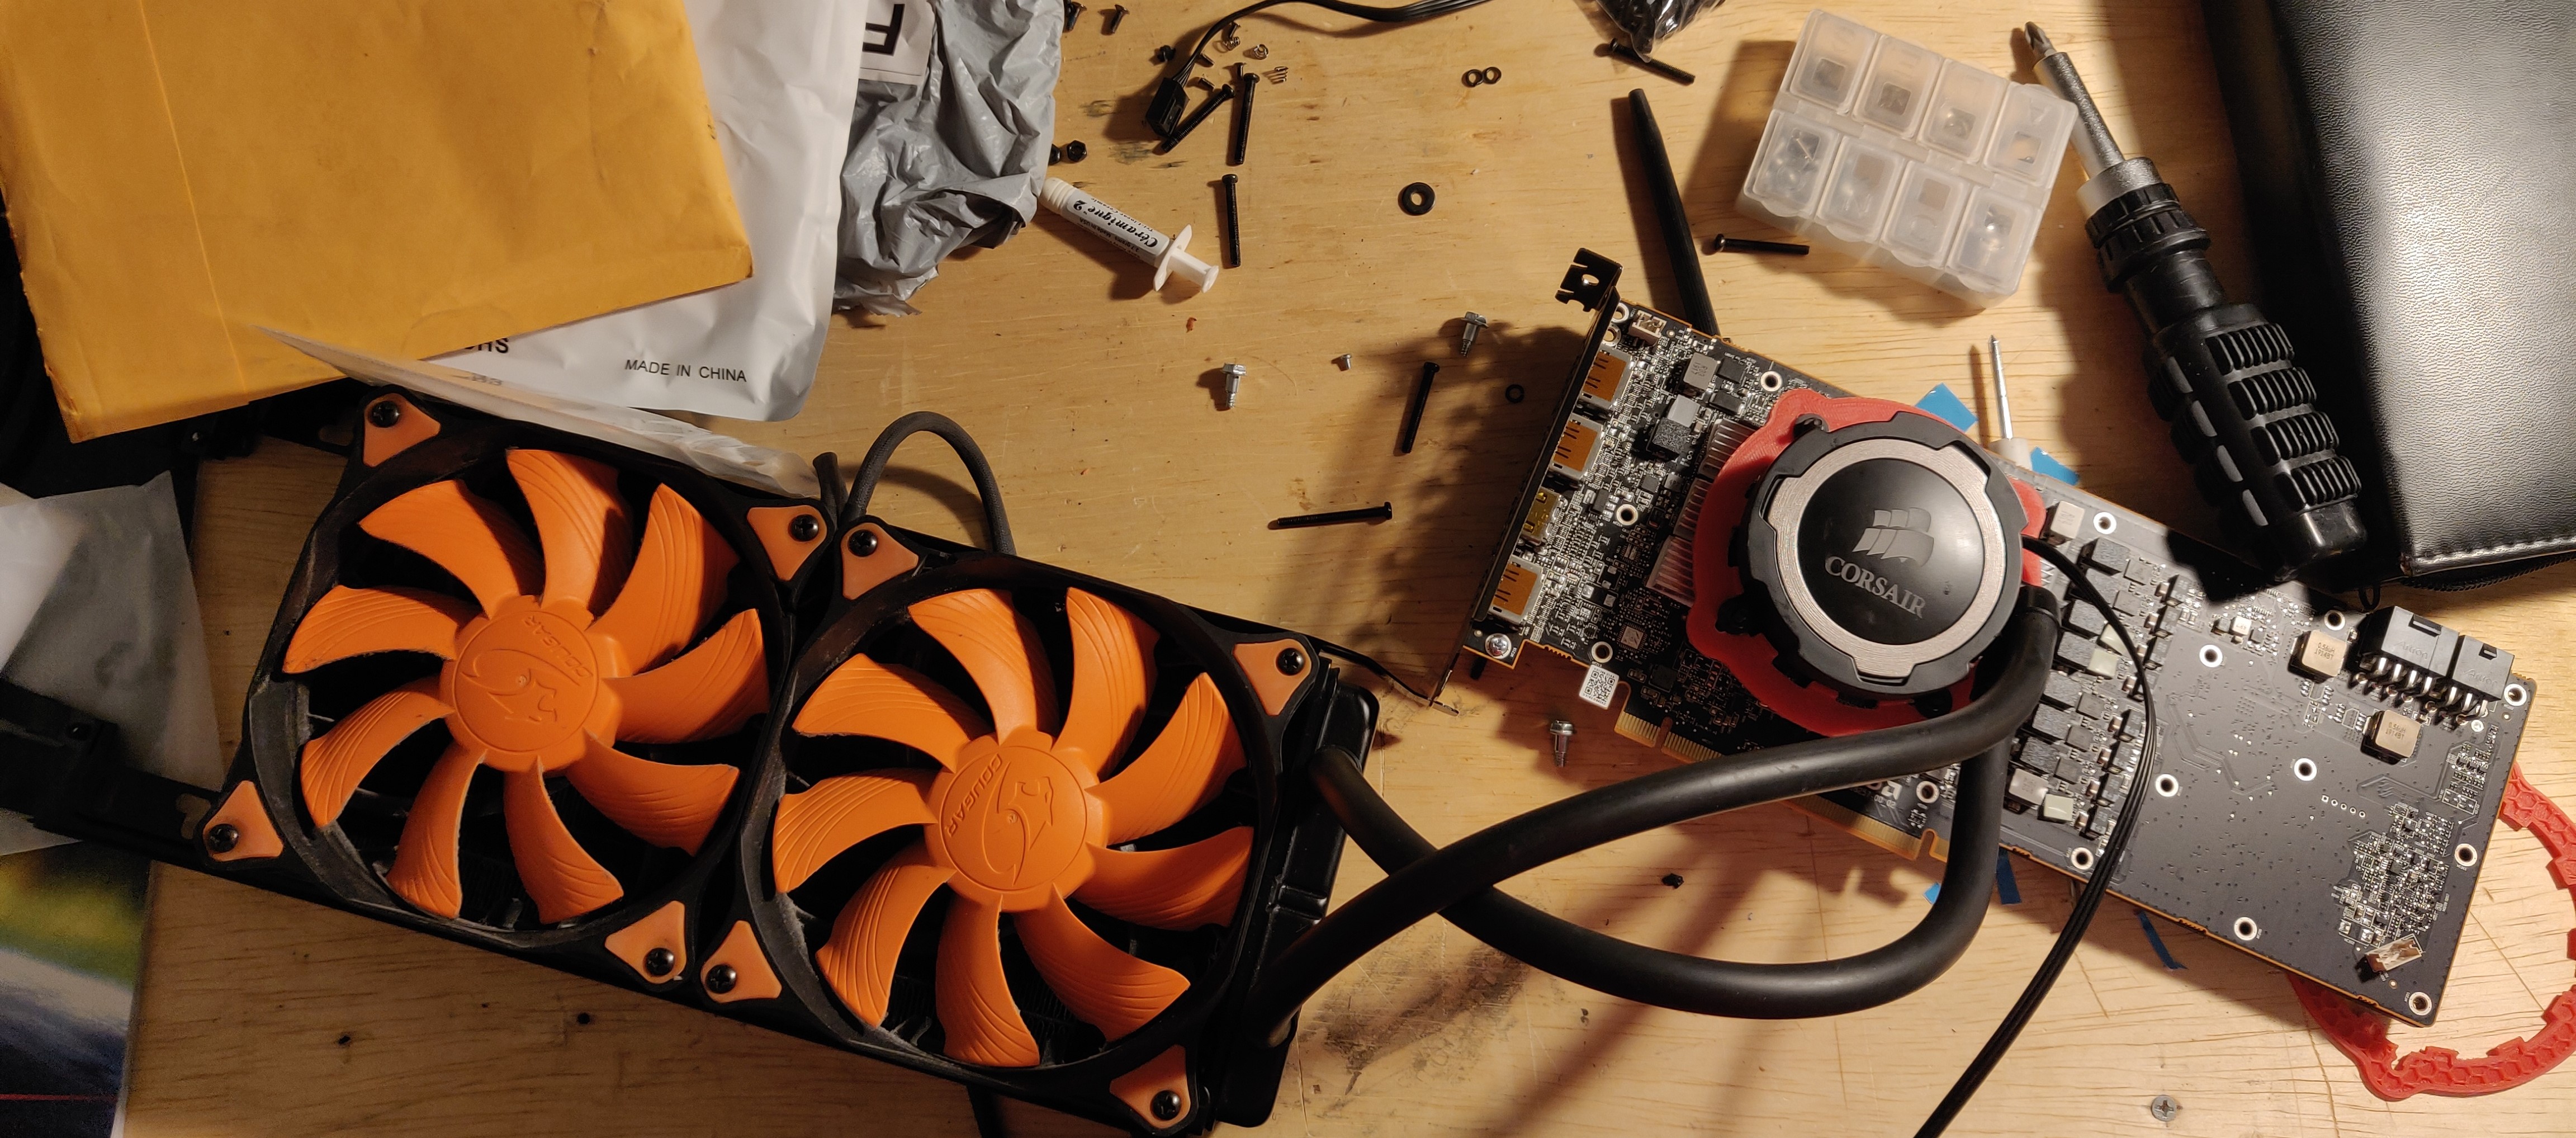
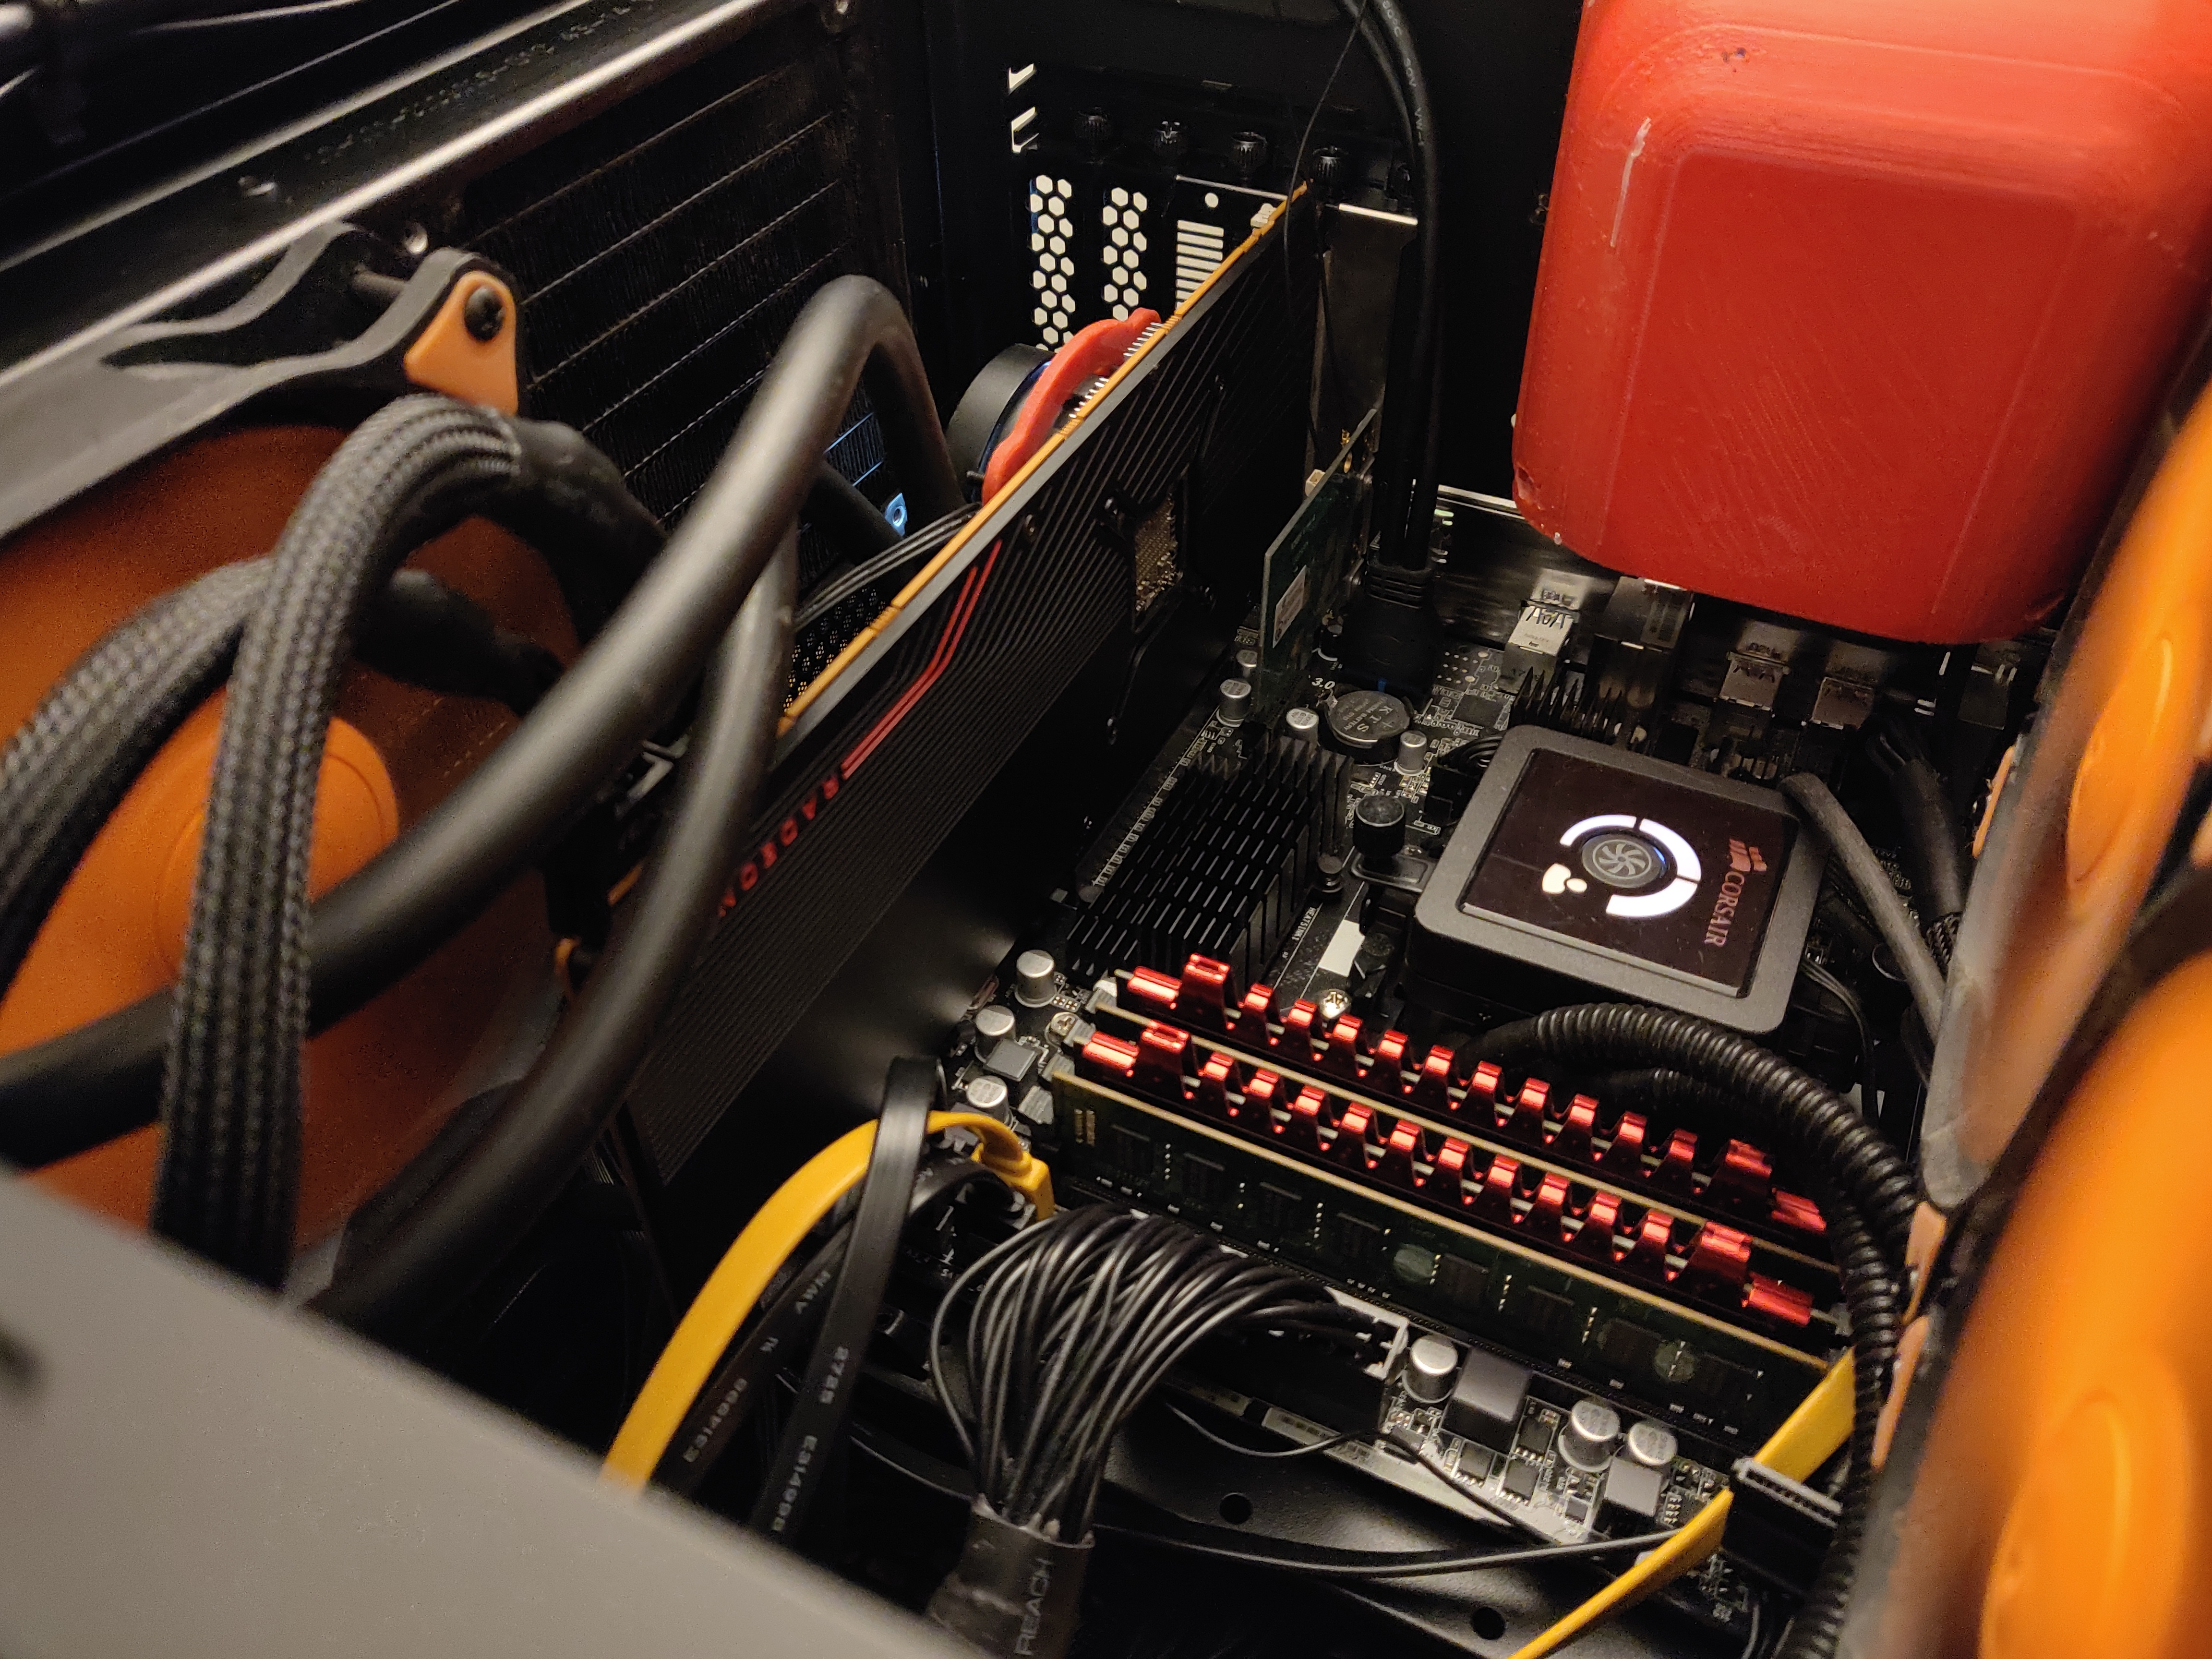
Finally, I remounted the cooler with the new bracket and used a few 3D-printed nuts to secure the backplate back onto the card. Then, final installation:
 |
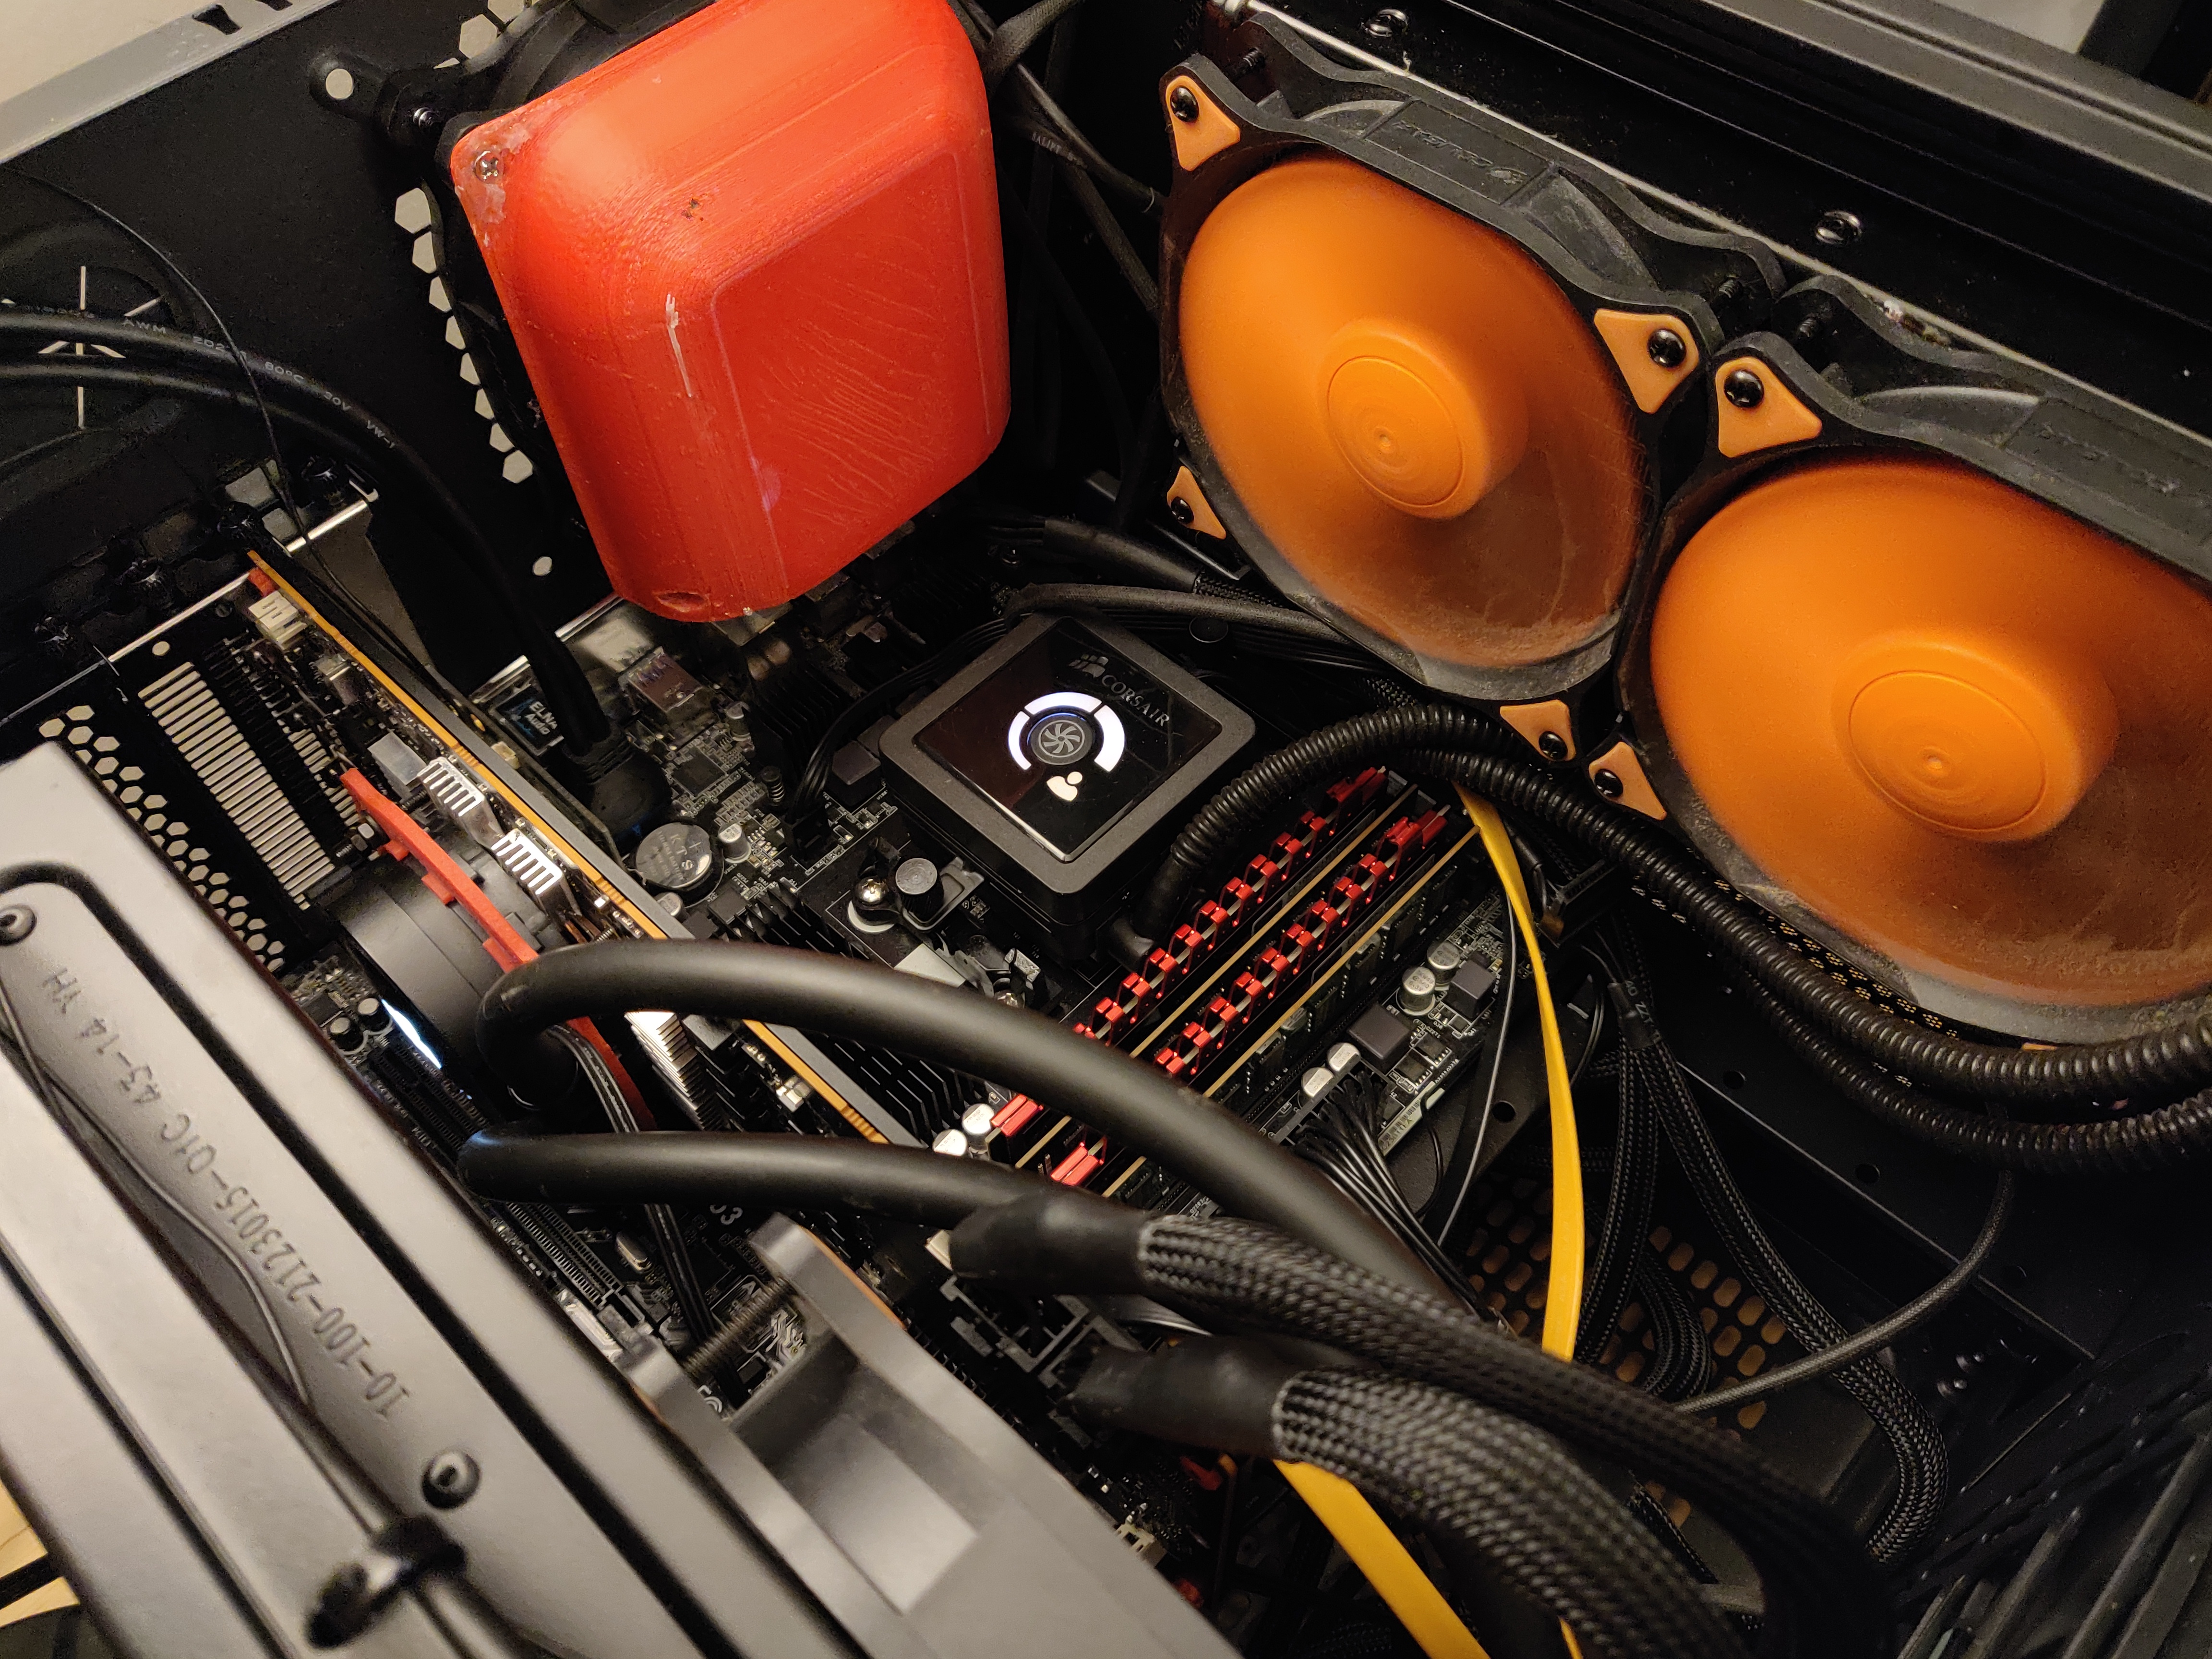 |
If it looks cramped, that’s because it is. The radiator with two fans on it isn’t even the one I just put in - that’s the one that was already on the CPU. Because of how close the pump on the GPU is to the radiator, there isn’t enough space to mount a full-depth (25mm) fan in that spot. Since the photo was taken, I installed a 15mm-deep fan that just barely fits. This should not be a problem for people with larger cases.
Conclusions
In the next post, I will present the thermal and performance results obtained from my system with the old GPU, the new GPU, and after watercooling. Thank you for reading, and feel free to message me with questions if you are interested in trying this yourself. Credit and thanks to colinreay on SFF.network for making the GPU adapter bracket freely available online.